My DIY attempts usually stem from my misguided belief that I can do it better or cheaper myself. I admit that I never do it better, and my fails mean I only occasionally do it cheaper. However, sometimes I can’t find exactly what I want in stores or on Etsy, and that’s when I forget about my past fails and take the plunge into the DIY world again.
This time it was a SUCCESS. A success that was cheaper than what I would have paid, and a success that was exactly what I wanted. And as my regular readers know, if I can do it you can do it.
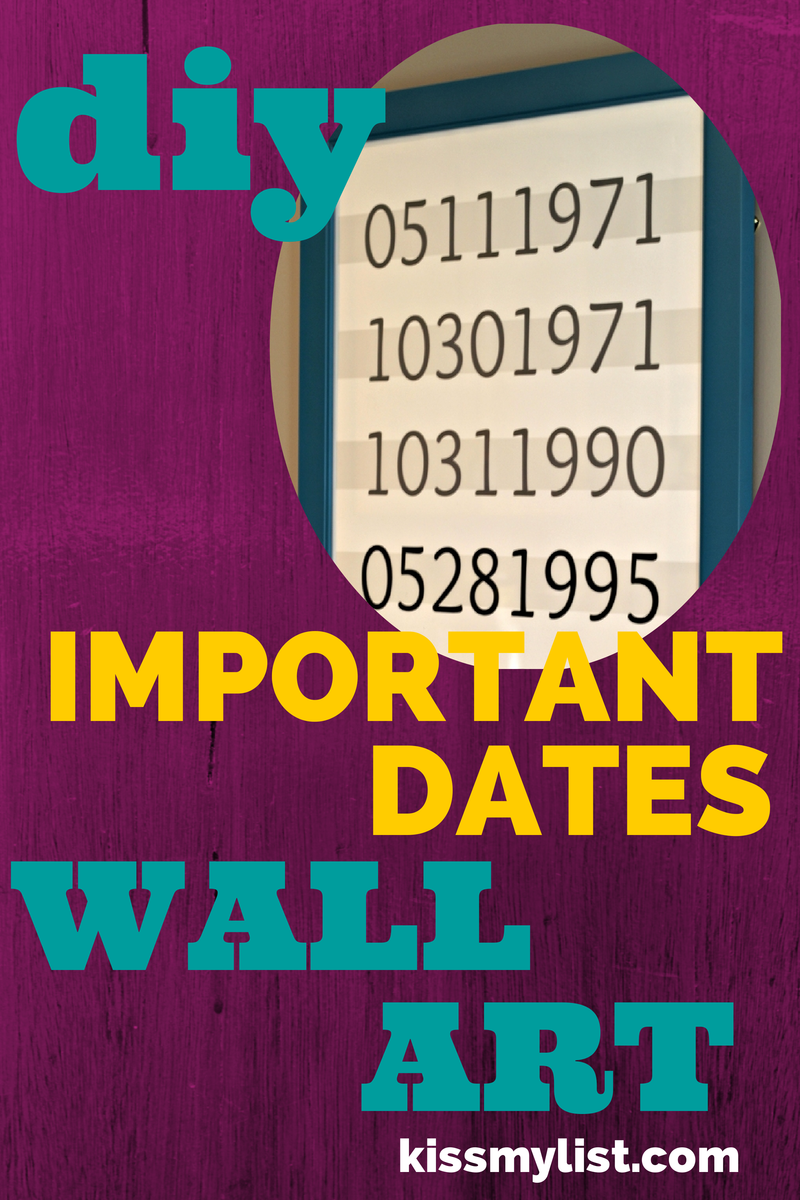
When you first look at the piece, you see a bunch of numbers. On closer inspection, you’ll see that the numbers are important anniversaries and birth dates for our family. I’ve seen this type of wall art all over the internet, but I never liked the font/color combinations. I had an empty wall in my brand new kitchen, and I wanted to bring in a teal/peacock/turquoise type of blue color as an accent to the gray walls. I couldn’t find what I wanted, so I created my own.
Here’s how I did it:
1. First decide on a size for your piece. Choose a standard size that can be printed locally or online. I use Snapfish, and they offer posters in the following sizes: 11×14, 12×18, 16×20, and 20×30.
2. Before you create your art, make sure you can find a frame you like in the right size. I needed a 20×30 frame, and I found a black one at Michael’s that I bought with a 40% off coupon. Cost of frame: $30.
3. Open PicMonkey and select >design and >custom. To determine the size you need, refer to this guide. My template was 2400 x 3200 pixels, which fit nicely into my frame with enough room for margins. PicMonkey limits the size of the design, so if yours is too big, just reduce it proportionally.
4. Create your wall art by using the text function, and lining up each row of numbers. Play around with fonts and colors. I added a gray rectangular overlay under each row to add some visual interest. (Select >overlay >geometric and create a rectangle to over each row of numbers, then right click “send to back.”) I highlighted our anniversary by making it darker than the other dates.
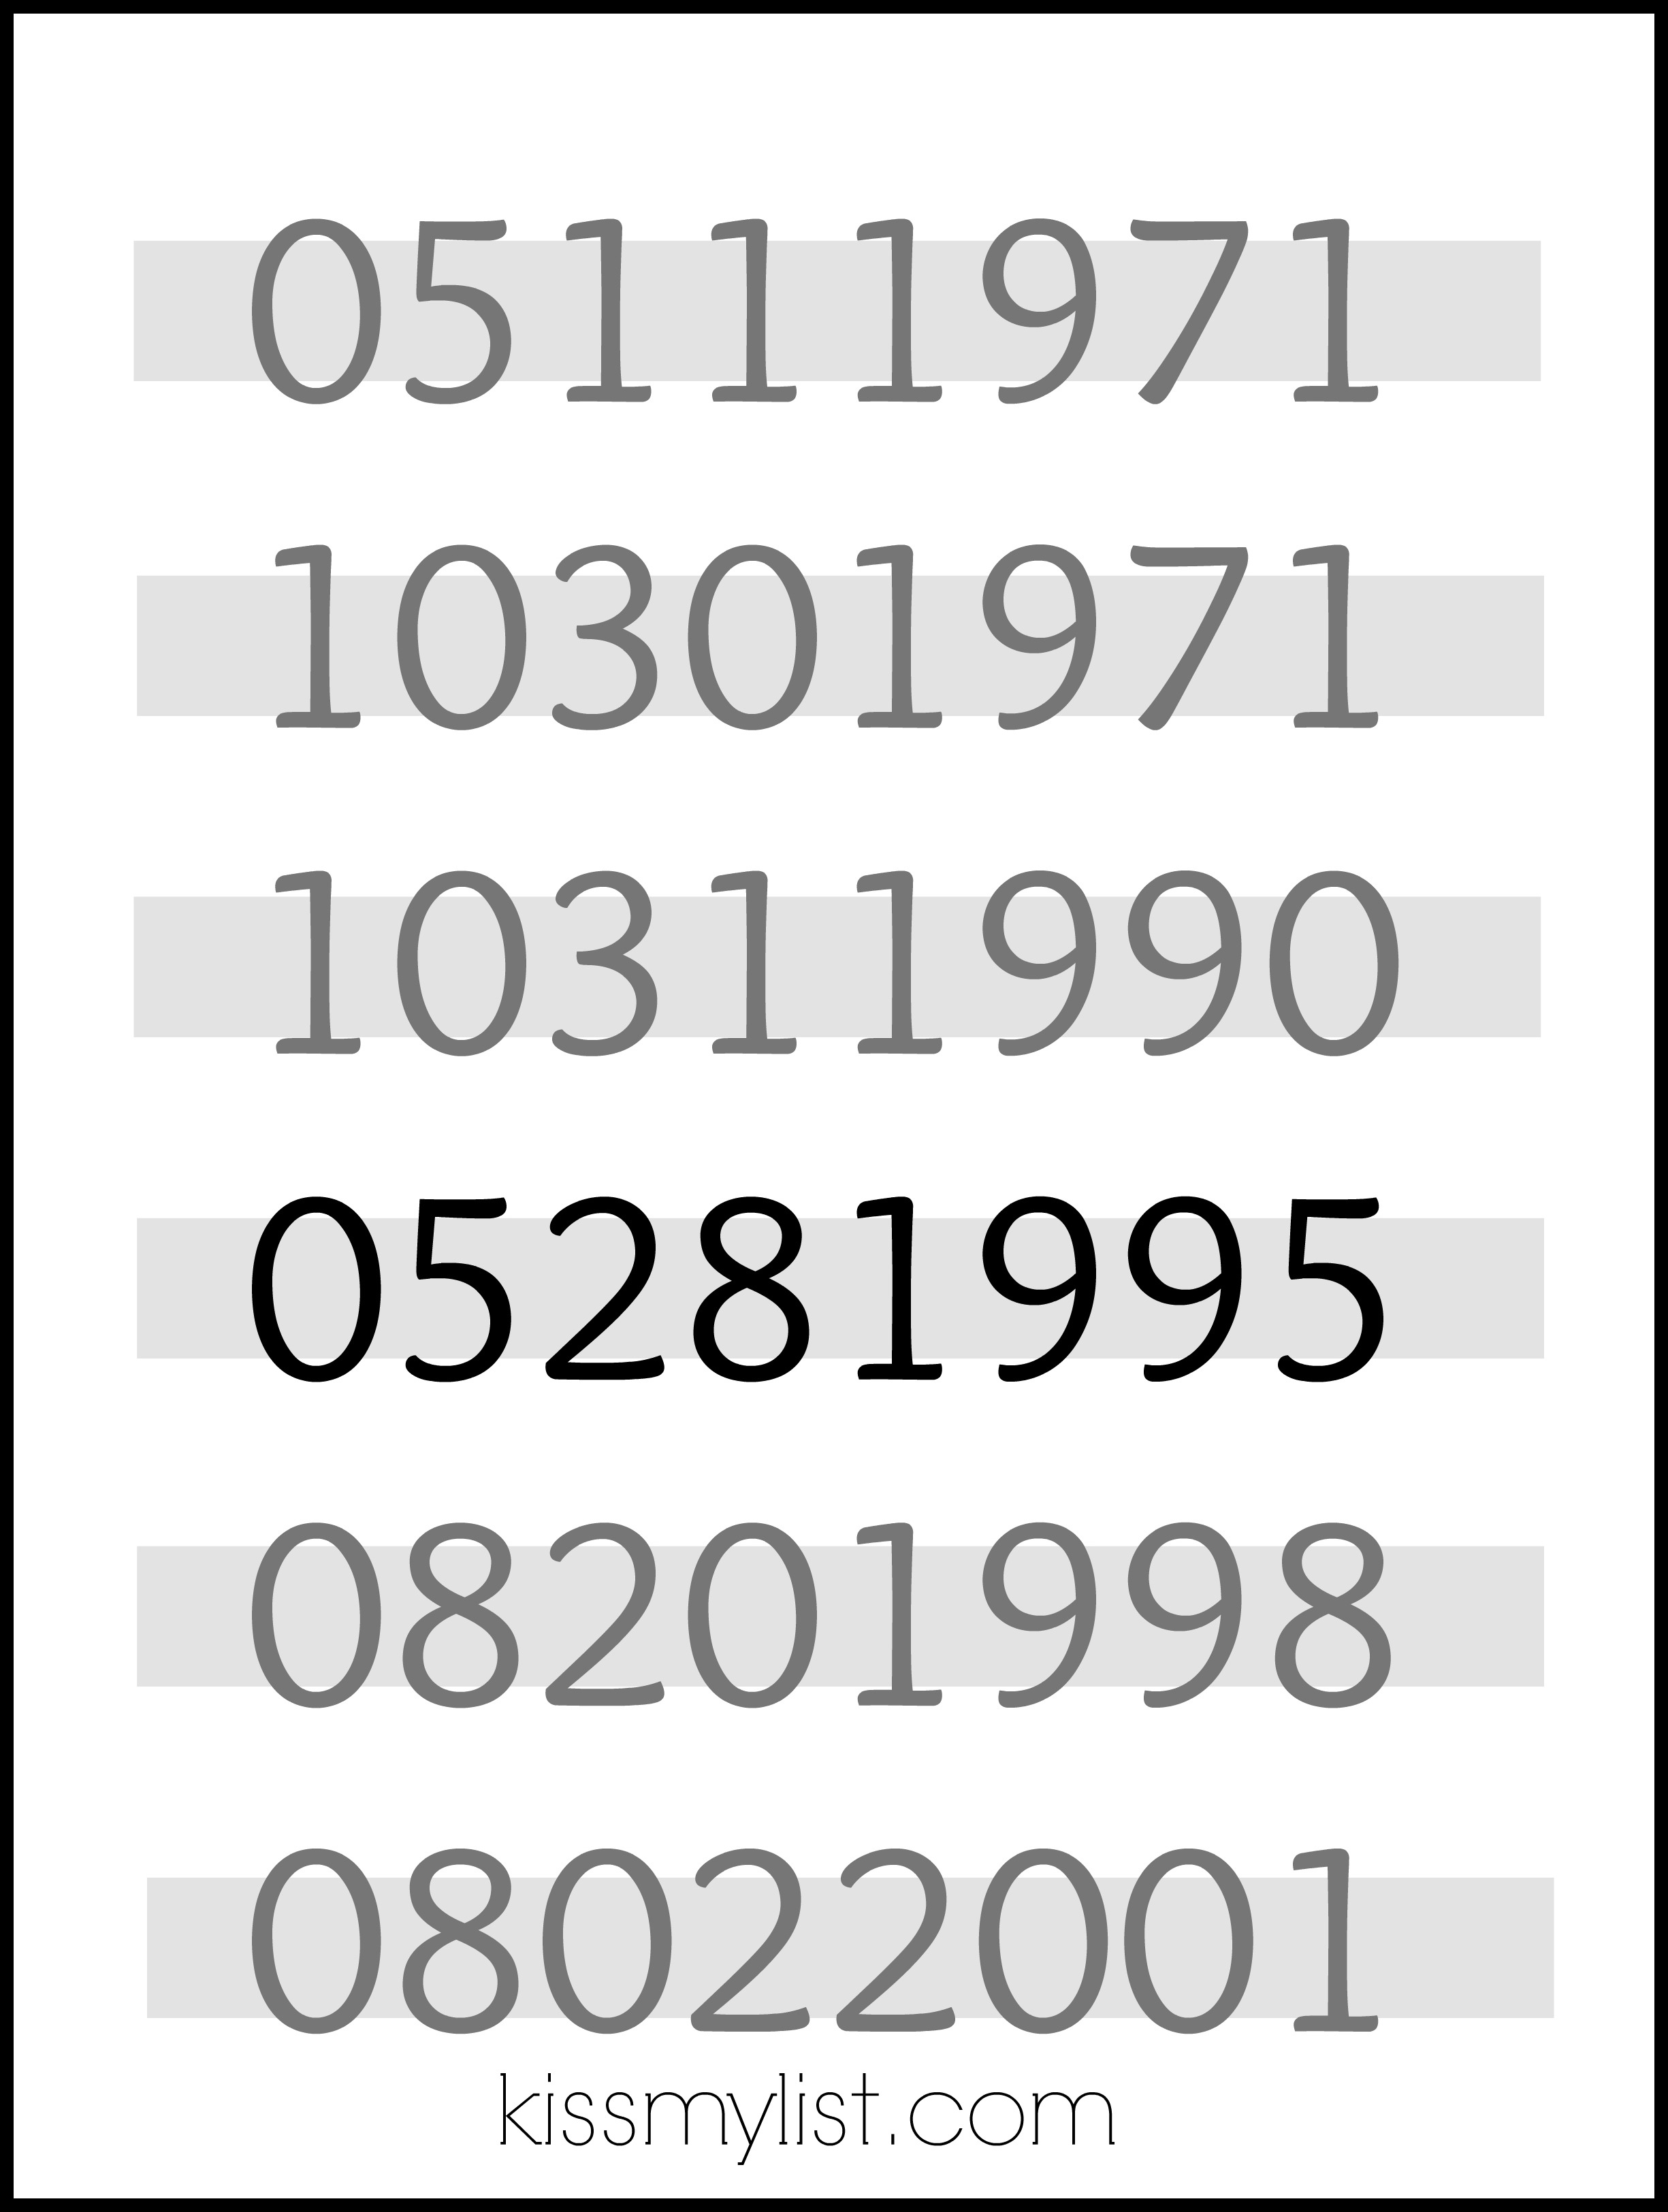
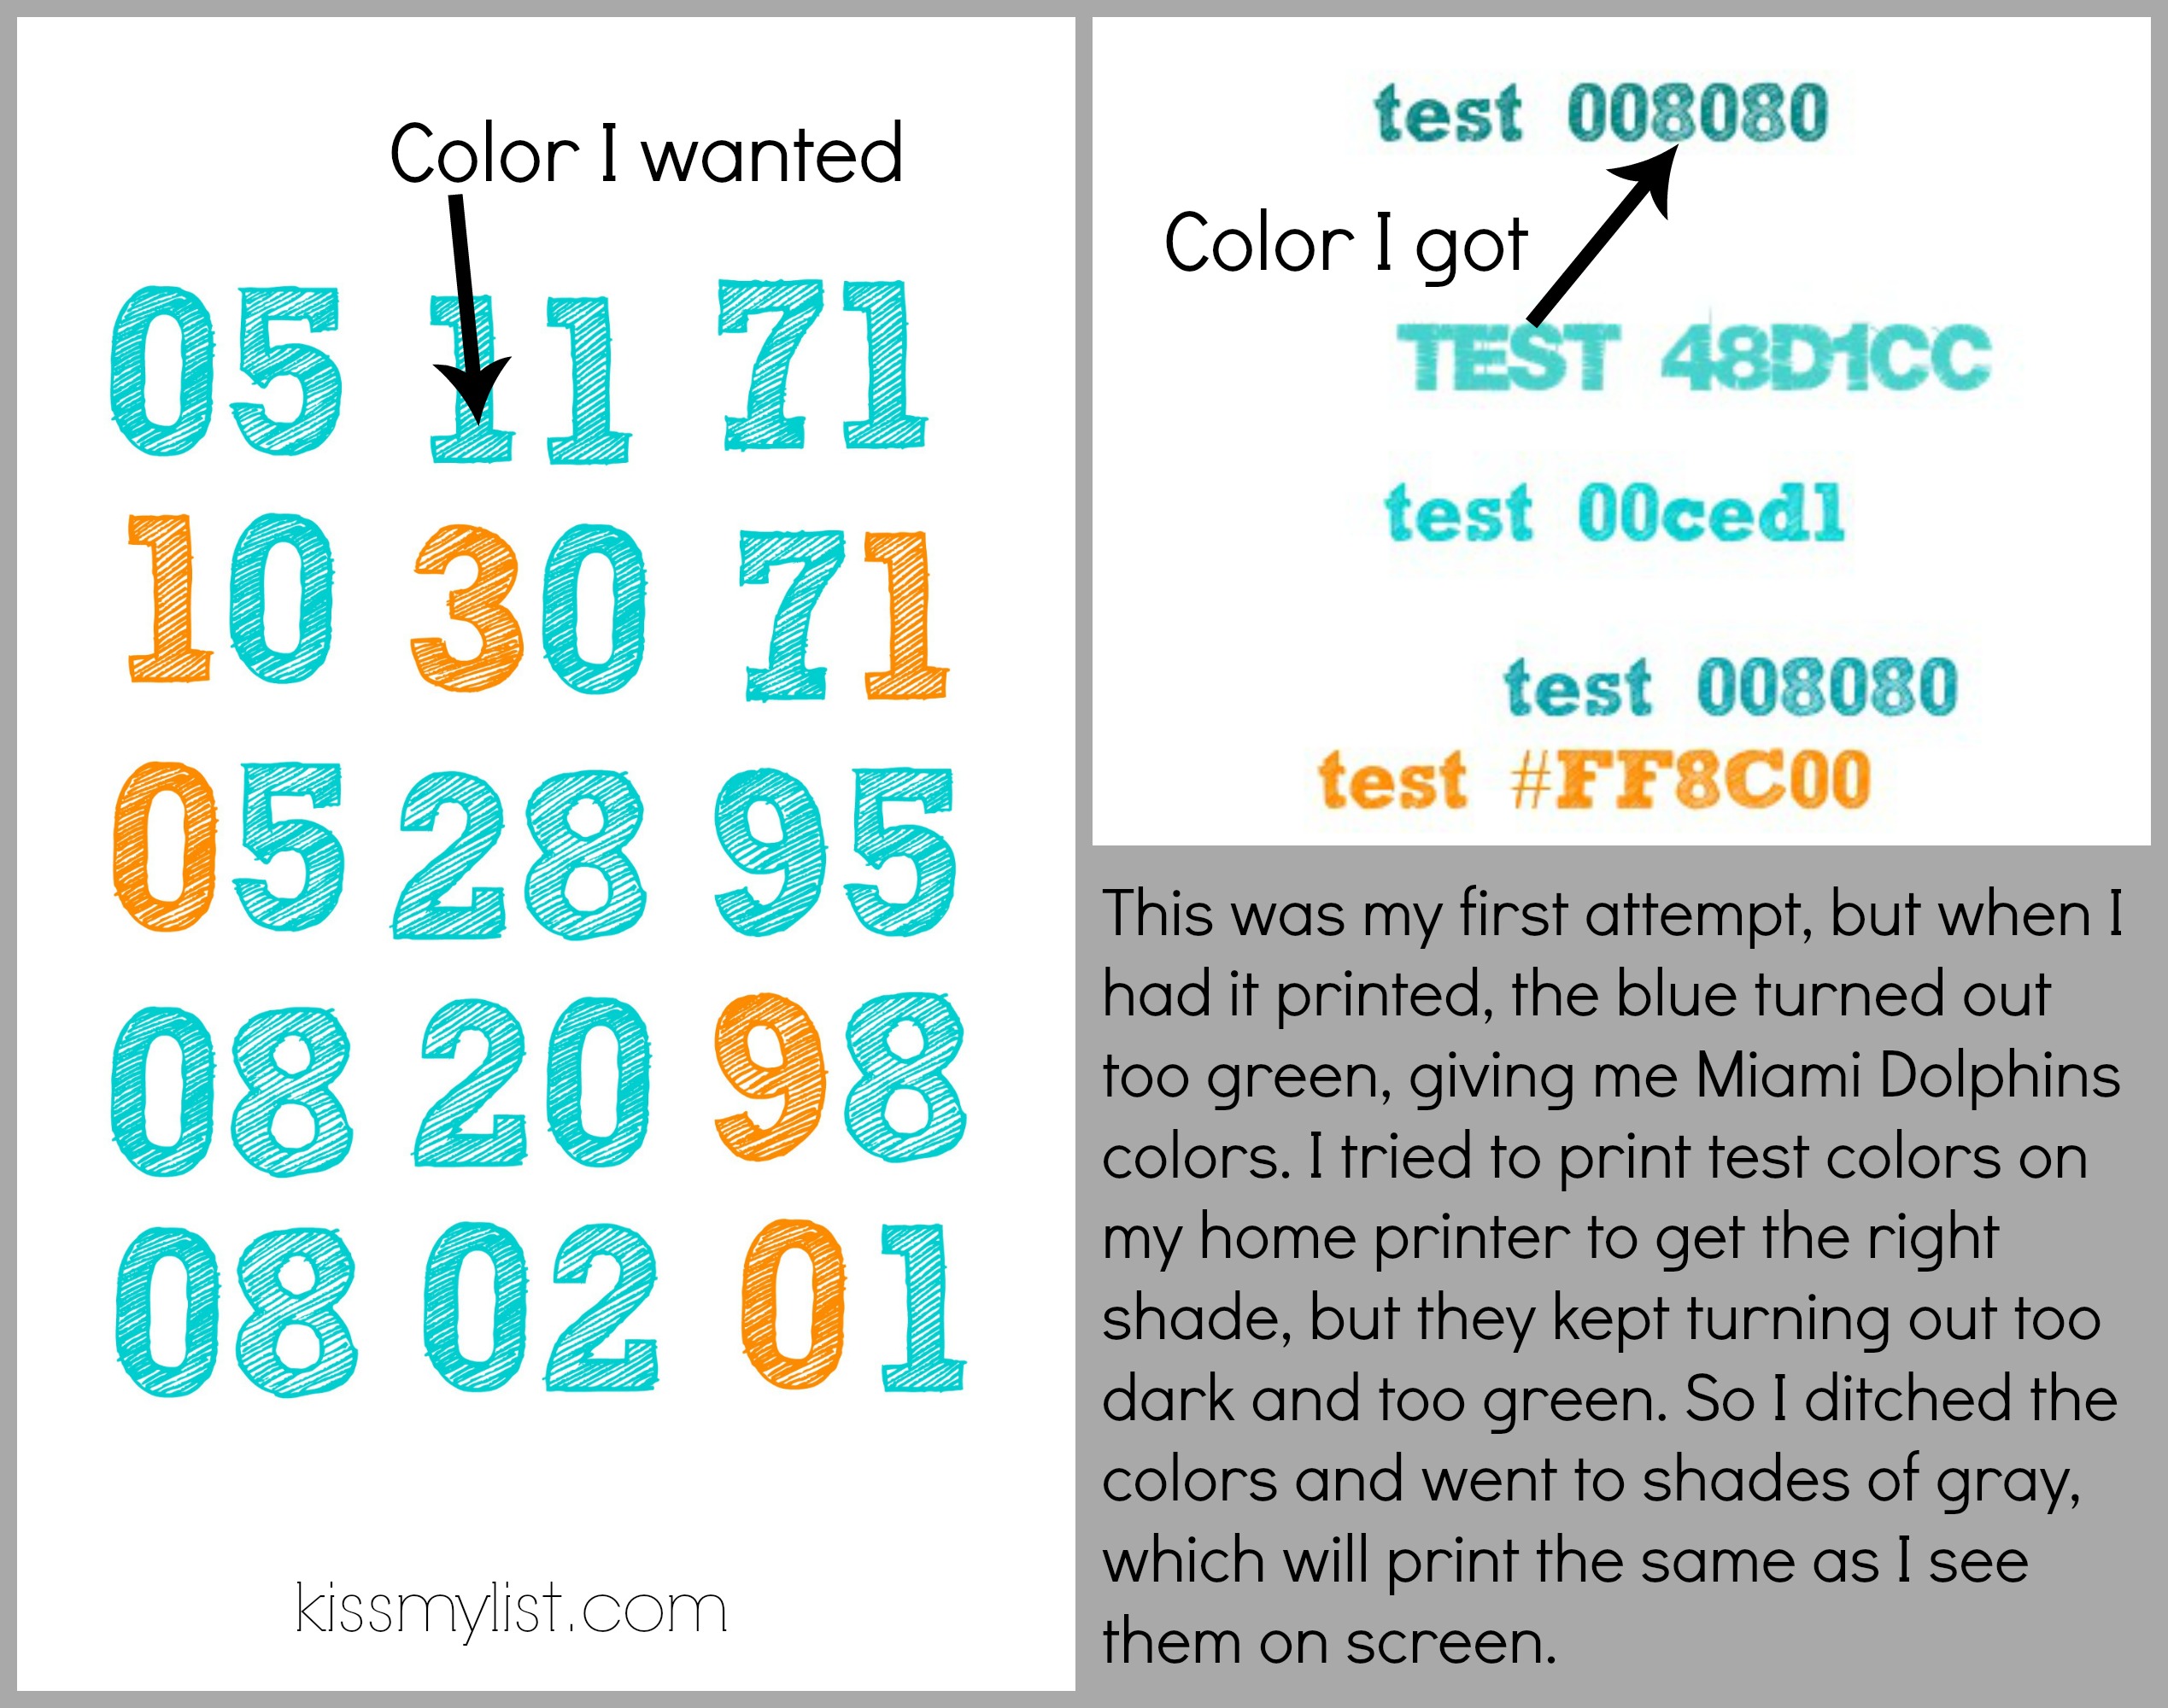
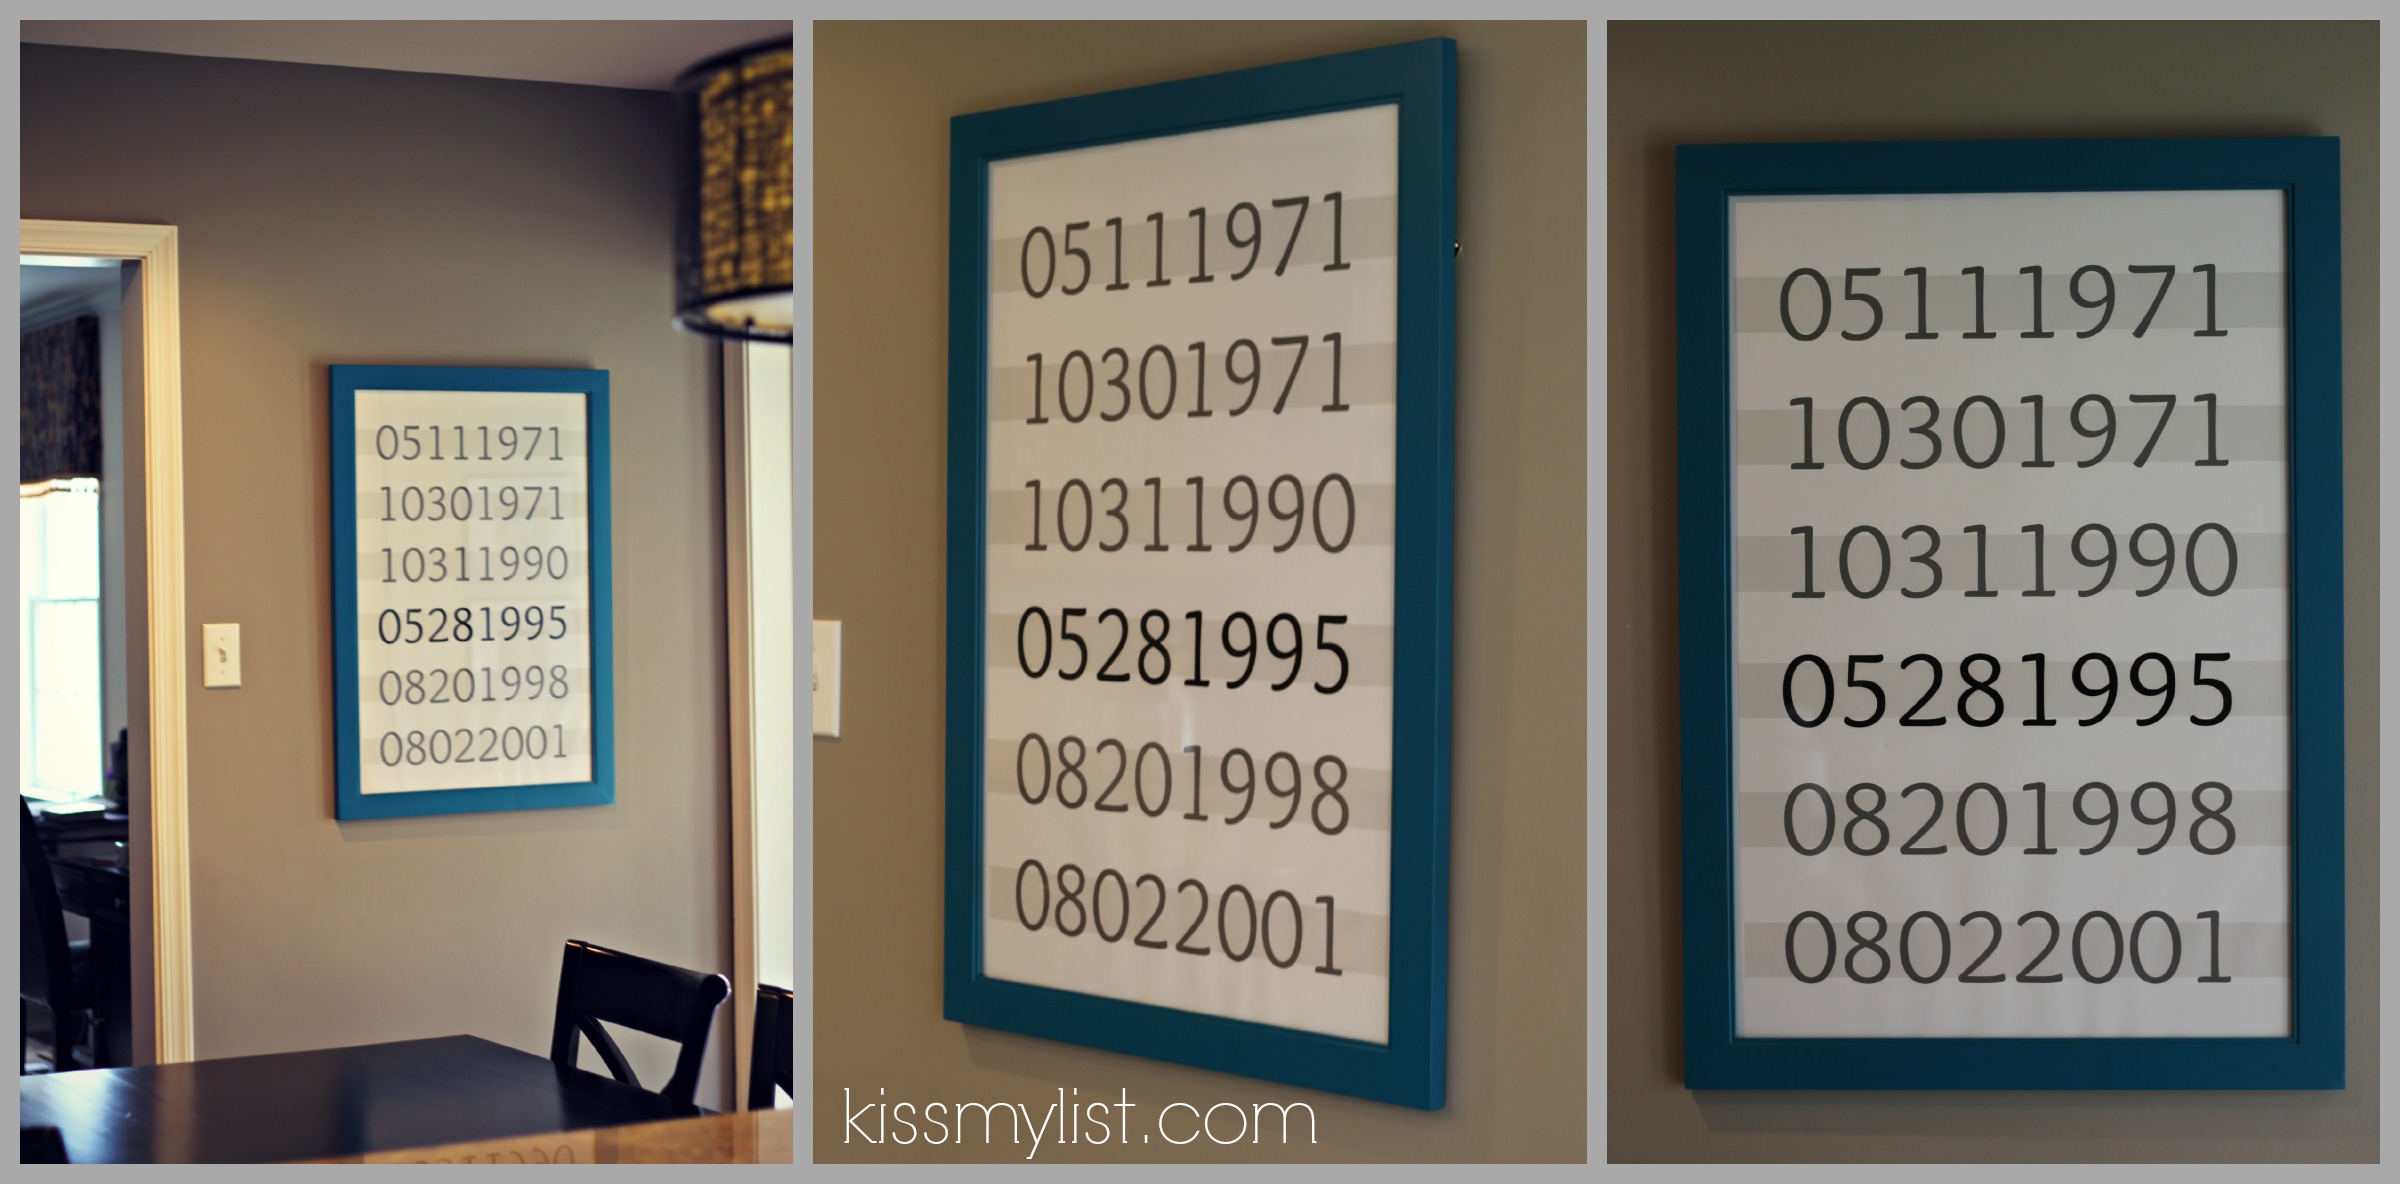
5. You’ll notice that I only used shades of gray and black. I initially used the teal color, but ran into problems when I took it to Staples for a test print. Colors online read differently than they do when printed. PicMonkey uses a hex code color system, but Staples’ printers use RGB. That means the colors I chose on my computer screen are translated differently by the printer. My colors kept coming out wrong, and I lack the design knowledge to fix it without a lot of headache. So I opted to pull in the teal color in the frame, and stick with grays and black for the text.
6. Save your design as a jpg file, and upload it to your favorite photo site (I use Snapfish). Order the photo in the size you need. And check (disclosure: affiliate link) Ebates first – I saved 50% on mine! Choose matte finish to avoid glare – remember this will be under glass. Cost of poster: $14 with shipping.
7. If you want to paint your frame, spray paint it in a well ventilated area. I painted mine outside and left the grass a lovely teal color. Make sure you remove the glass and backing before you start spraying. Cost of spray paint (satin Painter’s Touch in lagoon): $4
8. Put your poster in the frame and hang it on the wall for all to admire! Total cost: $48.
I love the way mine turned out, and I love that it is a conversation piece. Sometimes people know immediately what the numbers represent, and sometimes they are perplexed. I tell them that the numbers stand for dates, and then see if they can figure them out. The third one usually stumps them.
While I created a large poster, this project can be completed on a smaller scale too. Create an 8×10 for a table, or even a 5×7 for your desk. If you give it a try, please let me know how it turns out!

What a cool idea! I’m going to do one. I’m really into numbers and numerology and my wedding date was 9/1/91. That’ll look cool framed.
How cool! I’m gonna have to try this… looks like it’s something even I can handle. And it looks so neat hanging up. Thanks!
My pleasure, Carin!
This is so great. I am thinking I need one for birthdays and anniversaries since I am the onle always forgetting them. Not to mention I have one of those minds that forgets things as soon as I don’t see them. So, some wall date art would really improve my social life and also look pretty cool…win-win!
I never thought about how helpful the art would be for remembering dates!
Oh I am a DIY mommy, too! My success ratio is pretty much on the expensive side, too. This one looks so cool. I think I am going to try it out.
Let me know how it turns out if you do!
Such a great idea, Dana!!
Thanks Roshni!
This looks awesome! Nicely done, Dana.
Thanks Bev – not bad for someone with no artistic ability!
This is great – and you figured all of it out yourself, which I find amazing.
Thanks! It took me awhile, but I was determined to make this project a success. I had to redeem myself after two consecutive (major) fails!
That is AWESOME!!! I love love love this idea!
Thanks, Chris – and thank you for sharing on FB!
Super cute!!! I’m pretty sure you could sell those:)
Fun way to share important dates!
There are plenty on Etsy already Kim – no thanks 🙂 Once was enough for me.
This would be neat for an office too. I think I would use historical dates – perhaps easy like 07041776 😉
That’s a great idea, Kenya! Throw in a few hard ones too and see if anyone can figure them out.
Um…totally impressed. I will need to read through the instructions very carefully one more time – my impatience always gets in my way! Thanks for the tutorial. Very cool!
I’m impatient too, Amy. The issue with the color made me put the project down for a few months. If you do try it and have any questions, let me know.
Ok seriously cool. I love all the ideas I picked up with this DIY. Not only in your own post but in the comments. Brilliant.
Thanks so much, Kelly. I don’t DIY often, and I’m successful even less often, so I like to share when I am!
SO impressed!!! Love the idea, the how great you are to do the process, love the finished project!!!
Thanks Leah! You could make a great piece with all of your birth dates and anniversaries; it may have to be bigger than mine, though 🙂
Super cool idea! I love it. Even I could do this I think.
I think you could too, Kristi. I think you should make one and just throw some random dates in to mess with people’s heads.
Those turned out really nice, and they’re really different! I’m sure they are great conversation starters.
They are – most people stop and look, trying to figure out why I have a bunch of numbers as artwork!
I LOVE love love!
What a superb way to put these special, memorable dates into ART.
I love this, Dana. It looks awesome!
Thanks Kim!
Oh my word, I love this so much! And I love that you made it in Picmonkey because I actually know how to use that!!! Thanks for the tip about the colors and the printing, too.
My pleasure, Katie. You’re a picmonkey pro so I’m sure you could whip one of these up in no time!
I keep looking over the numbers and trying to decide what they mean! I think I got it!
I think it’s cool. Such a conversation piece. People would walk in and you could tell they’d be trying to solve the puzzle behind it. Or find the meaning.
I have had people come into the kitchen and just stare at it – it’s fun to watch them figure it out!
You are so clever! Congrats on a great idea and a DIY win!
Thanks Stephanie! My batting average is at about .250 right now.
Nicely done, Dana. I’ve never seen anything like this before. What a creative way to share the important days in your life. As someone above mentioned, this would be a unique gift for grandparents. I think this is a doable DIY, even for the uncreative folk like myself.
It is doable, Barbara – you could even write the dates in Microsoft Word. And the dates are already established, so no need for creativity!
Wow. I’m impressed. I have to say I usually skip over DIY posts–I’m amazingly lazy and talentless–but you reeled me in! I love this idea. And maybe, just maybe, if I start now I can have one as a gift for Grandma at xmas. Can we make guesses as to the 3rd date? I’m going to say either the day you met your husband OR, since it was Halloween, the day you joined a coven. Or both?
Liz, you can be assured that my DIY posts are either fails (and therefore entertaining) or require little to no talent. You can do this! And the third date is our first date, during which I did not join a coven. But that would make a great story, wouldn’t it?
Love it! What a great idea!
Thanks Robin!
I absolutely love this! I don’t think I’ve seen anything like it before.
I can’t remember where I first saw one – probably on Etsy. They just weren’t my style, so I created my own. Glad you like it 🙂
This was executed perfectly!! I’m glad you chose the colorful frame with the grey and black print. IMO it looks better! Great size for that wall too!
I’m so glad you like it, Shelly – your educated opinion means a lot to me!
I love this. I am redesigning our family room and this would make an awesome piece of wall art. And despite my un-craftiness, I think I can muster this one!
Bloggers have an advantage with this project because we know our way around Pic Monkey. I’m pretty un-crafty too, so I’m sure you can do it, Tara.
This is SUPER cool!! I might have to make one myself. Stopping by from Bloppies…and I’m pinning! 🙂
Hi Meredith – thanks for visiting! If you make one, let me know. And thanks for pinning – I don’t have that many pin worthy posts, but I’m hoping this is one of them!
I know what #3 is 🙂 Awesome idea and I think even I might be able to take on this craft project!
You know #3 because you are a super loyal reader and friend. xoxo And yes, even you could do it, Kerri. If I did it, it can’t be that difficult!
Dana, that looks amazing. I am very impressed and LOVE it all (colors, font, significance of dates, size, EVERYTHING!).
Thanks, Mimi – I’m slowly redeeming myself from my epic fails.
Looooove this idea! I would love to do that with all our birthdays!
Yours would be a little longer than mine – oh wait, maybe not! I forgot you really only have two birth dates for your four kids 🙂
This is such a great idea. You’ve got me thinking that I might be able to pull this off. It would be a great gift for my sister once that baby finally arrives. Plus, it gives me another excuse to spend time on PicMonkey!
It would be a great gift for your sister! And if you know PicMonkey, it should be easy to do.
Looks amazing Dana!
Thanks Ana Lynn!
Seriously, love your DIY skills and cannot say enough how much I love that you used PicMonkey for this!! 🙂
PicMonkey is just so useful! I love Canva too but I’m still learning – I can use PicMonkey quickly and easily.
That is a really cool idea, but my favorite part of this post was learning I could get discounts on Snapfish through EBates! I didn’t know that!!!
Lol – yes you can! Always happy to pass on a way to save money while shopping. My work here is done!
You amaze me. There is no way in hell I would ever be able to do that myself. It looks awesome!!! And yes, I’ve seen those before but I really like the simple (yet so complicated) way you laid out the dates. Nicely done Dana!
I amaze you, Ms. Duathlon? I suppose we all have our strengths – I appreciate the compliment, Allie 🙂
What a cool idea, Dana! Very clever!
Thanks, Michelle!