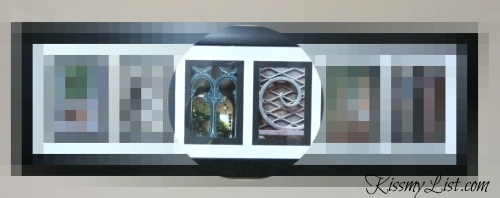
Have you seen alphabet photography? A few years ago, my mom gave me a cool piece of wall art – it was the word “love” spelled out in photos. Each letter was its own photo, taken from everyday objects – the L was the end of a park bench, the O was the center of a guitar, and so on.
DIY Alphabet Photography Wall Art Tutorial
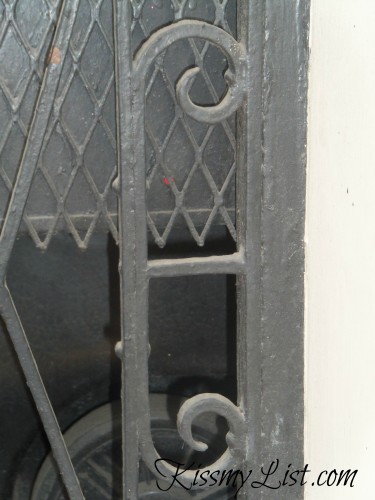
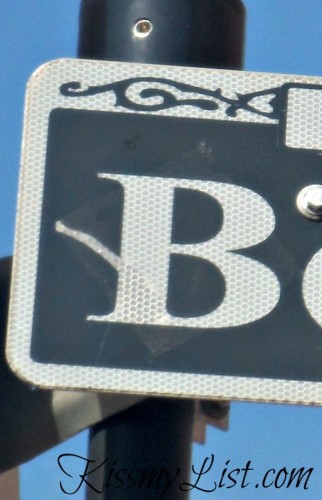
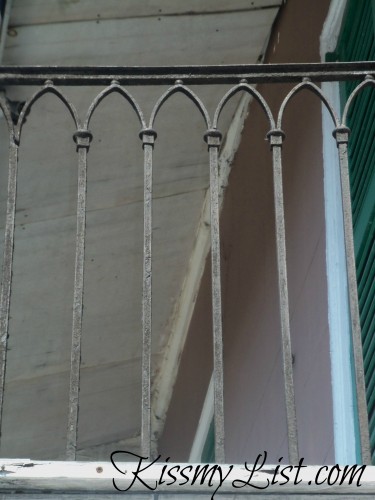
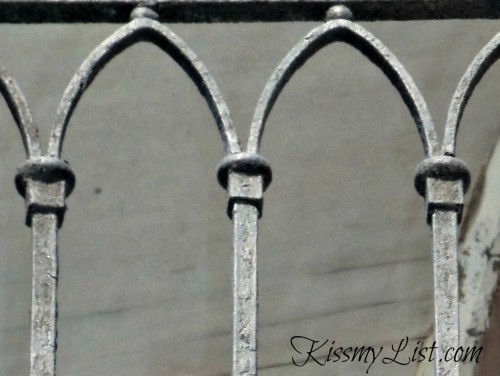
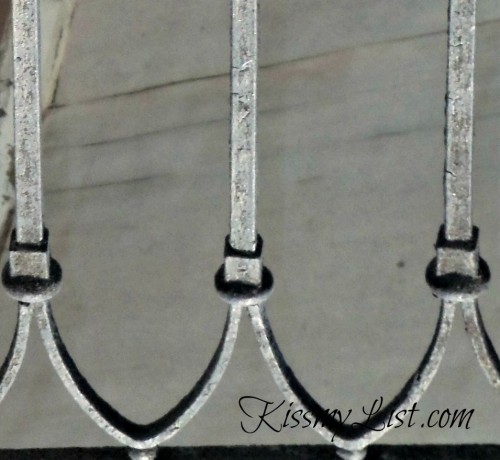
Take lots of photos of objects, architectural shapes, or nature that look like the letters you need. I took pictures all around the French Quarter in New Orleans, which is full of fantastic architectural details. Fences, gratings, doorways, street signs – you’ll be amazed by what letters you can find in ordinary objects once you start looking.
Make sure you zoom in enough when you take the photo, and shoot from different angles. If you have to crop the photo, you don’t want it to be so small that the quality is poor.
If I were planning to use the “B” in the Bourbon Street sign, I would have zoomed in when taking the original photo. When cropped, it loses some of its clarity. Here’s another example that has many possibilities:
Crop and edit each photo letter until you are satisfied. The letter should be clear to the viewer, so ask a friend who doesn’t know what you are doing to see if she can identify the letter.
Purchase a frame with the correct number of openings – I used one frame with multiple 4×6 openings. Another option is to use individual 4×6 frames for each letter, and hang them on the wall less than two inches apart. I’d recommend a simple black frame with a white mat. If you are doing initials or a small word, you may prefere 5×7 frames or openings.
Print your photos, place them in the frame, and admire your new wall art!
If you make your own alphabet photography wall art, let me know – I’d love to see it!



Very clever, love the tips. Thanks for sharing at Fluster’s Creative Muster. I’m looking forward to seeing what you link up next week.
I was on my way to Theme Thursday but I had to stop here first. This is awesome. I am on it.
Yay – share when you’re finished!
My son and I saw these at a craft show and he loved them. I told him we could do it ourselves, but never got around to it. Your post has inspired me to do this on our trip to Ireland. It will be a nice reminder of our trip!
Lisa – that would be an amazing thing to do! I would love to see what you create, so please share when it’s done! Glad my post inspired you 🙂
It is so beautiful, thanks for linking up and joining in on the party!
XO
Kristin
Thanks, and thanks for hosting!
Thanks for stopping by SewsNBows! I’ve never seen anything like this before-Ill be looking at things in a different way tomorrow! How creative. I’m going to browse around your site some more!
My pleasure – thanks for returning the visit!
Those are great tips! I love this kind of photography when I see it in the stores. Never thought of doing it myself. Thank you for sharing it!
Glad you liked it, Danni! Thanks for commenting.
I love this DIY tutorial! I’ve always loved alphabet photography so maybe now I can try it out myself. Thanks so much for following, looking forward to reading more of your blog 🙂
Thanks, Kera! Enjoying following you too.