I am a half-assed DIYer. I have this great idea to do a project, I do the research and figure out what to do, and then I do it.
But I don’t always do it well. Sometimes I screw up so badly that I have to call in a professional. Fortunately, this was not one of those times.

When my daughter could feel the springs through her twelve year old full-sized mattress, we bought her a new queen bed. She wanted a headboard that she could lean against comfortably, so I decided that an upholstered headboard would fit the bill. Even better – I would make my own headboard. Even the cheapest headboard was over $200 online, and I knew I could do it for less.
I googled “DIY upholstered headboard” and found many options. Beautiful home decorating blogs had detailed tutorials, and I picked parts of various ones that looked simple enough for me to handle.
Here’s how to do it:
1. Determine the dimensions of the plywood – this will be the base. I chose 63 inches wide by 36 inches high. It helps to tape off the shape on the wall over the bed so you can visualize how it will look.
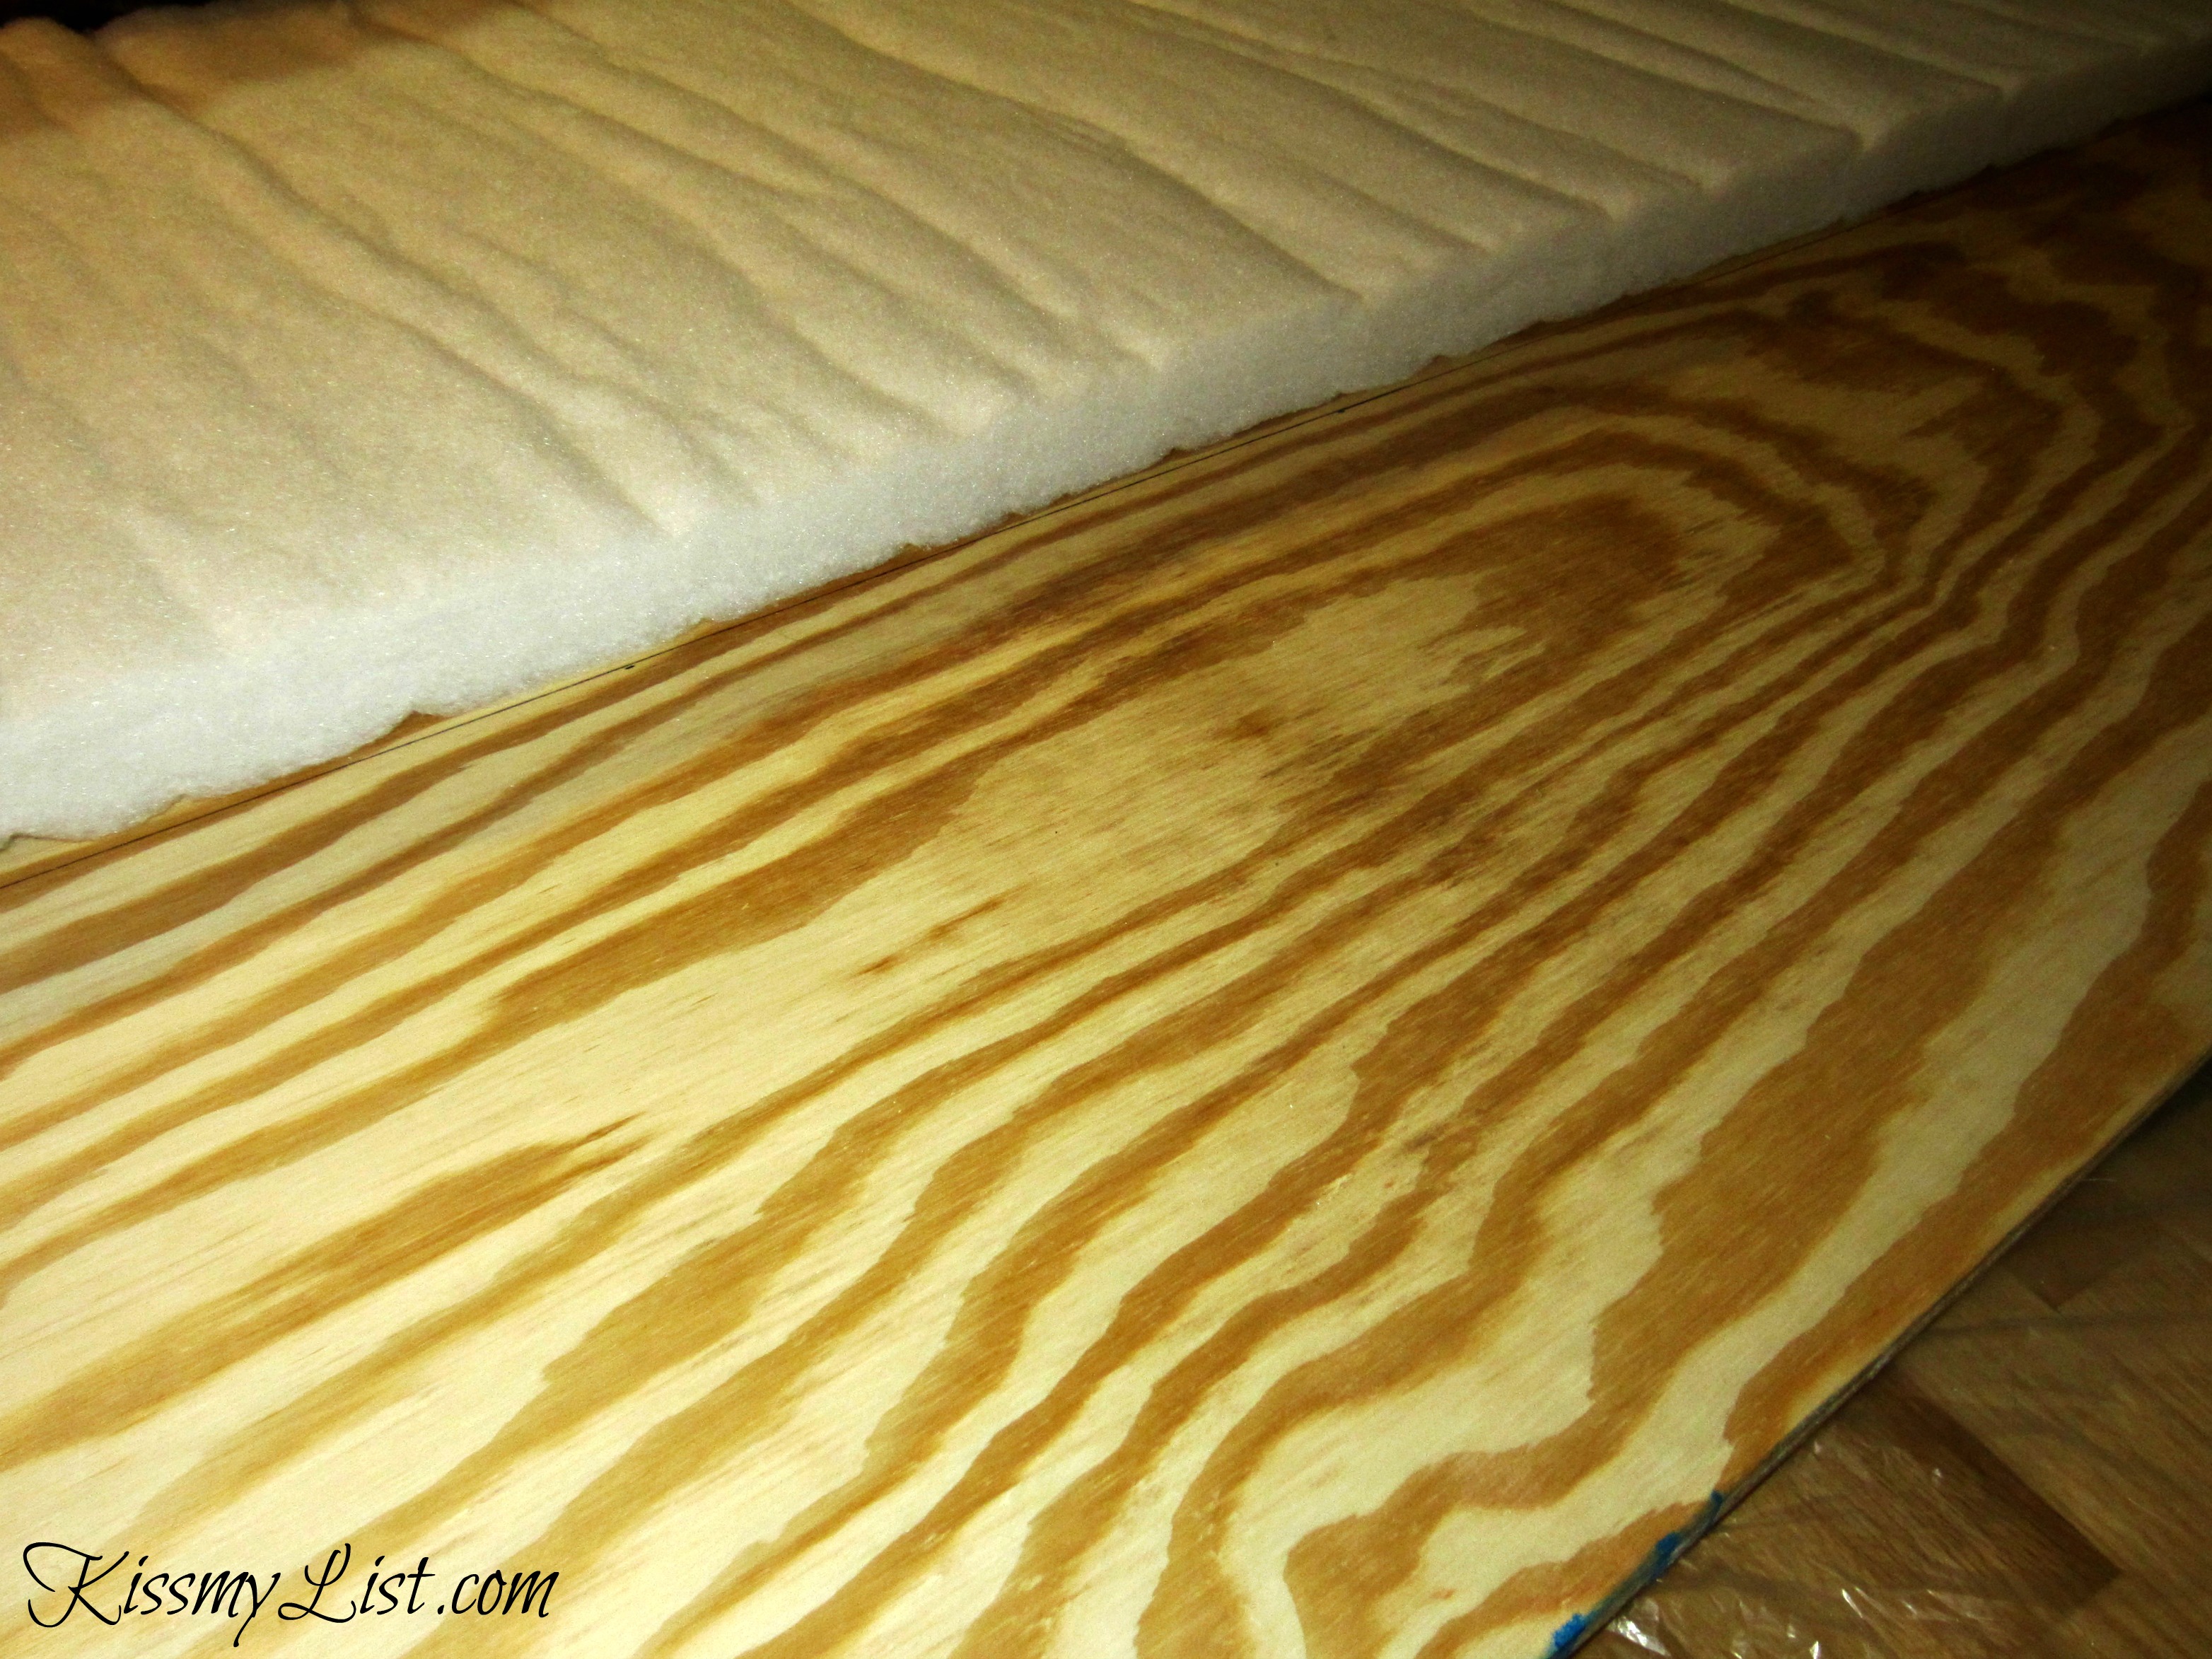
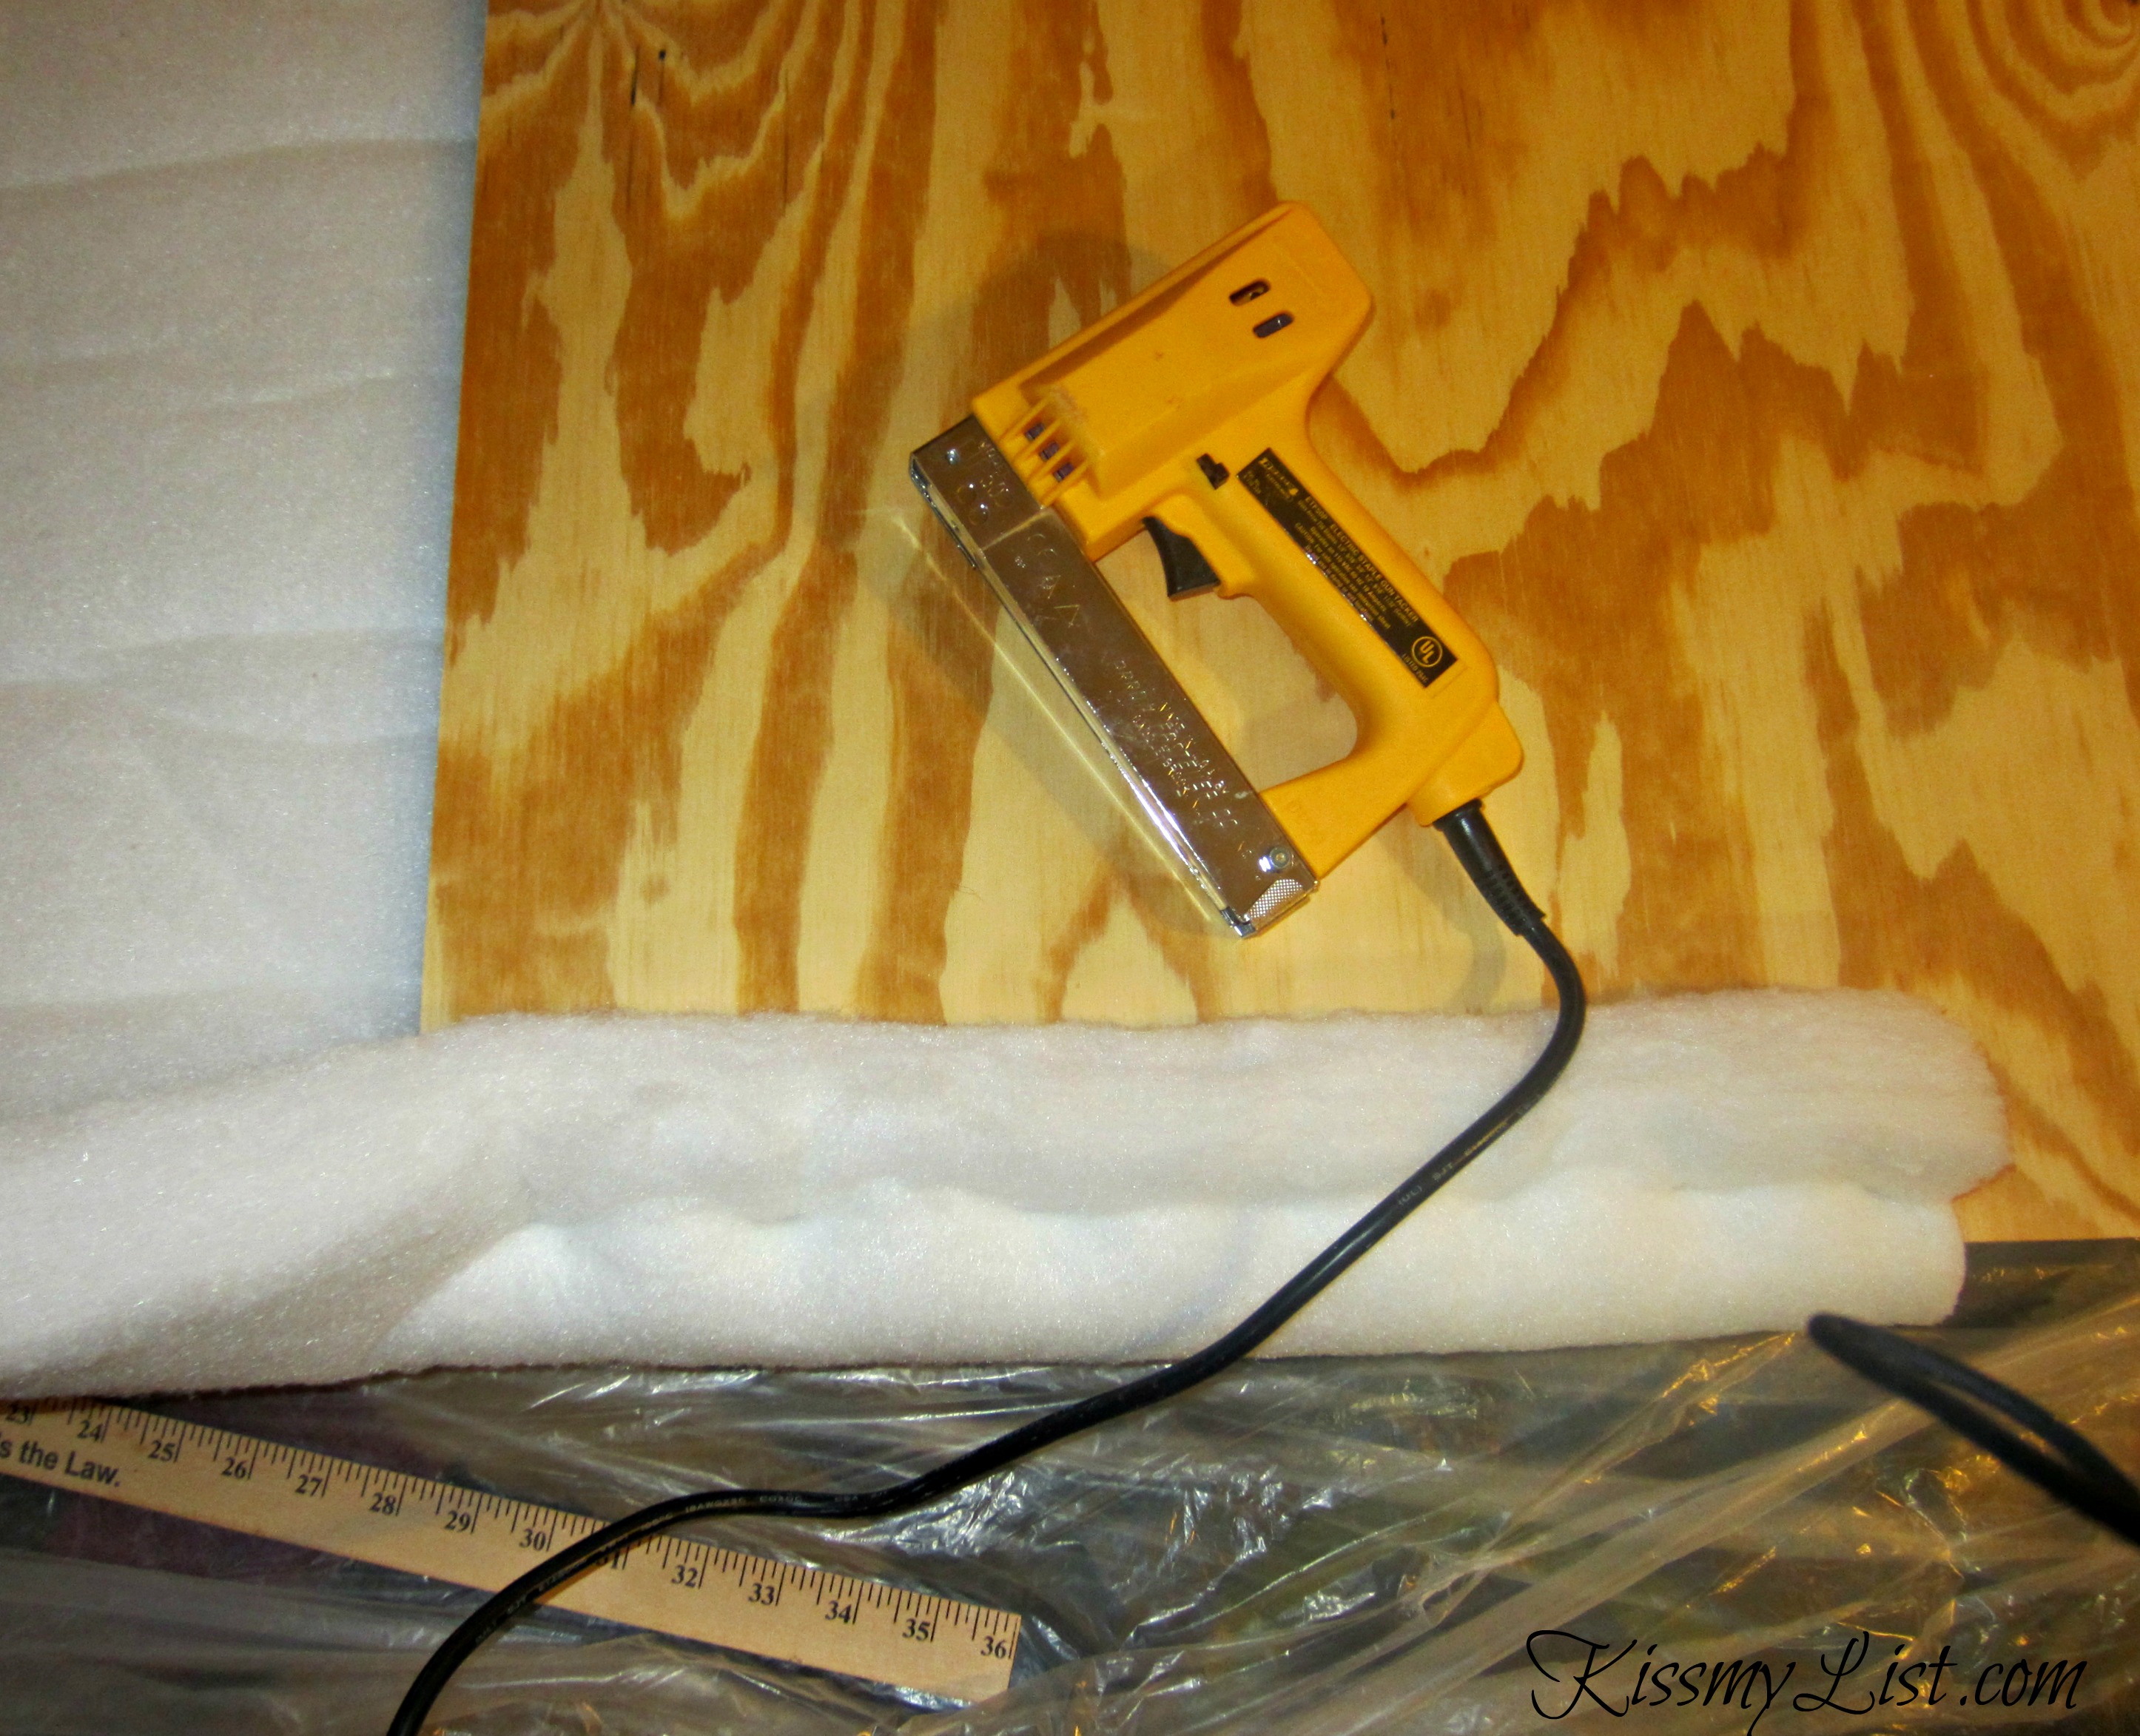
2. Purchase materials. The nice man at Home Depot cut the half inch thick plywood for me, and the other nice man at Home Depot helped me find the d-rings, picture wire, and hooks to hang the headboard. You will also need padding (I used two inch thick Nu Foam from Joann’s), fabric, spray adhesive, a staple gun, and staples. Make sure you have enough fabric to wrap around the headboard and staple to the back.
3. Apply spray adhesive to plywood and adhere foam. The foam wasn’t wide enough to cover it in one piece so I had to use two pieces – one on the top half, one on the bottom.
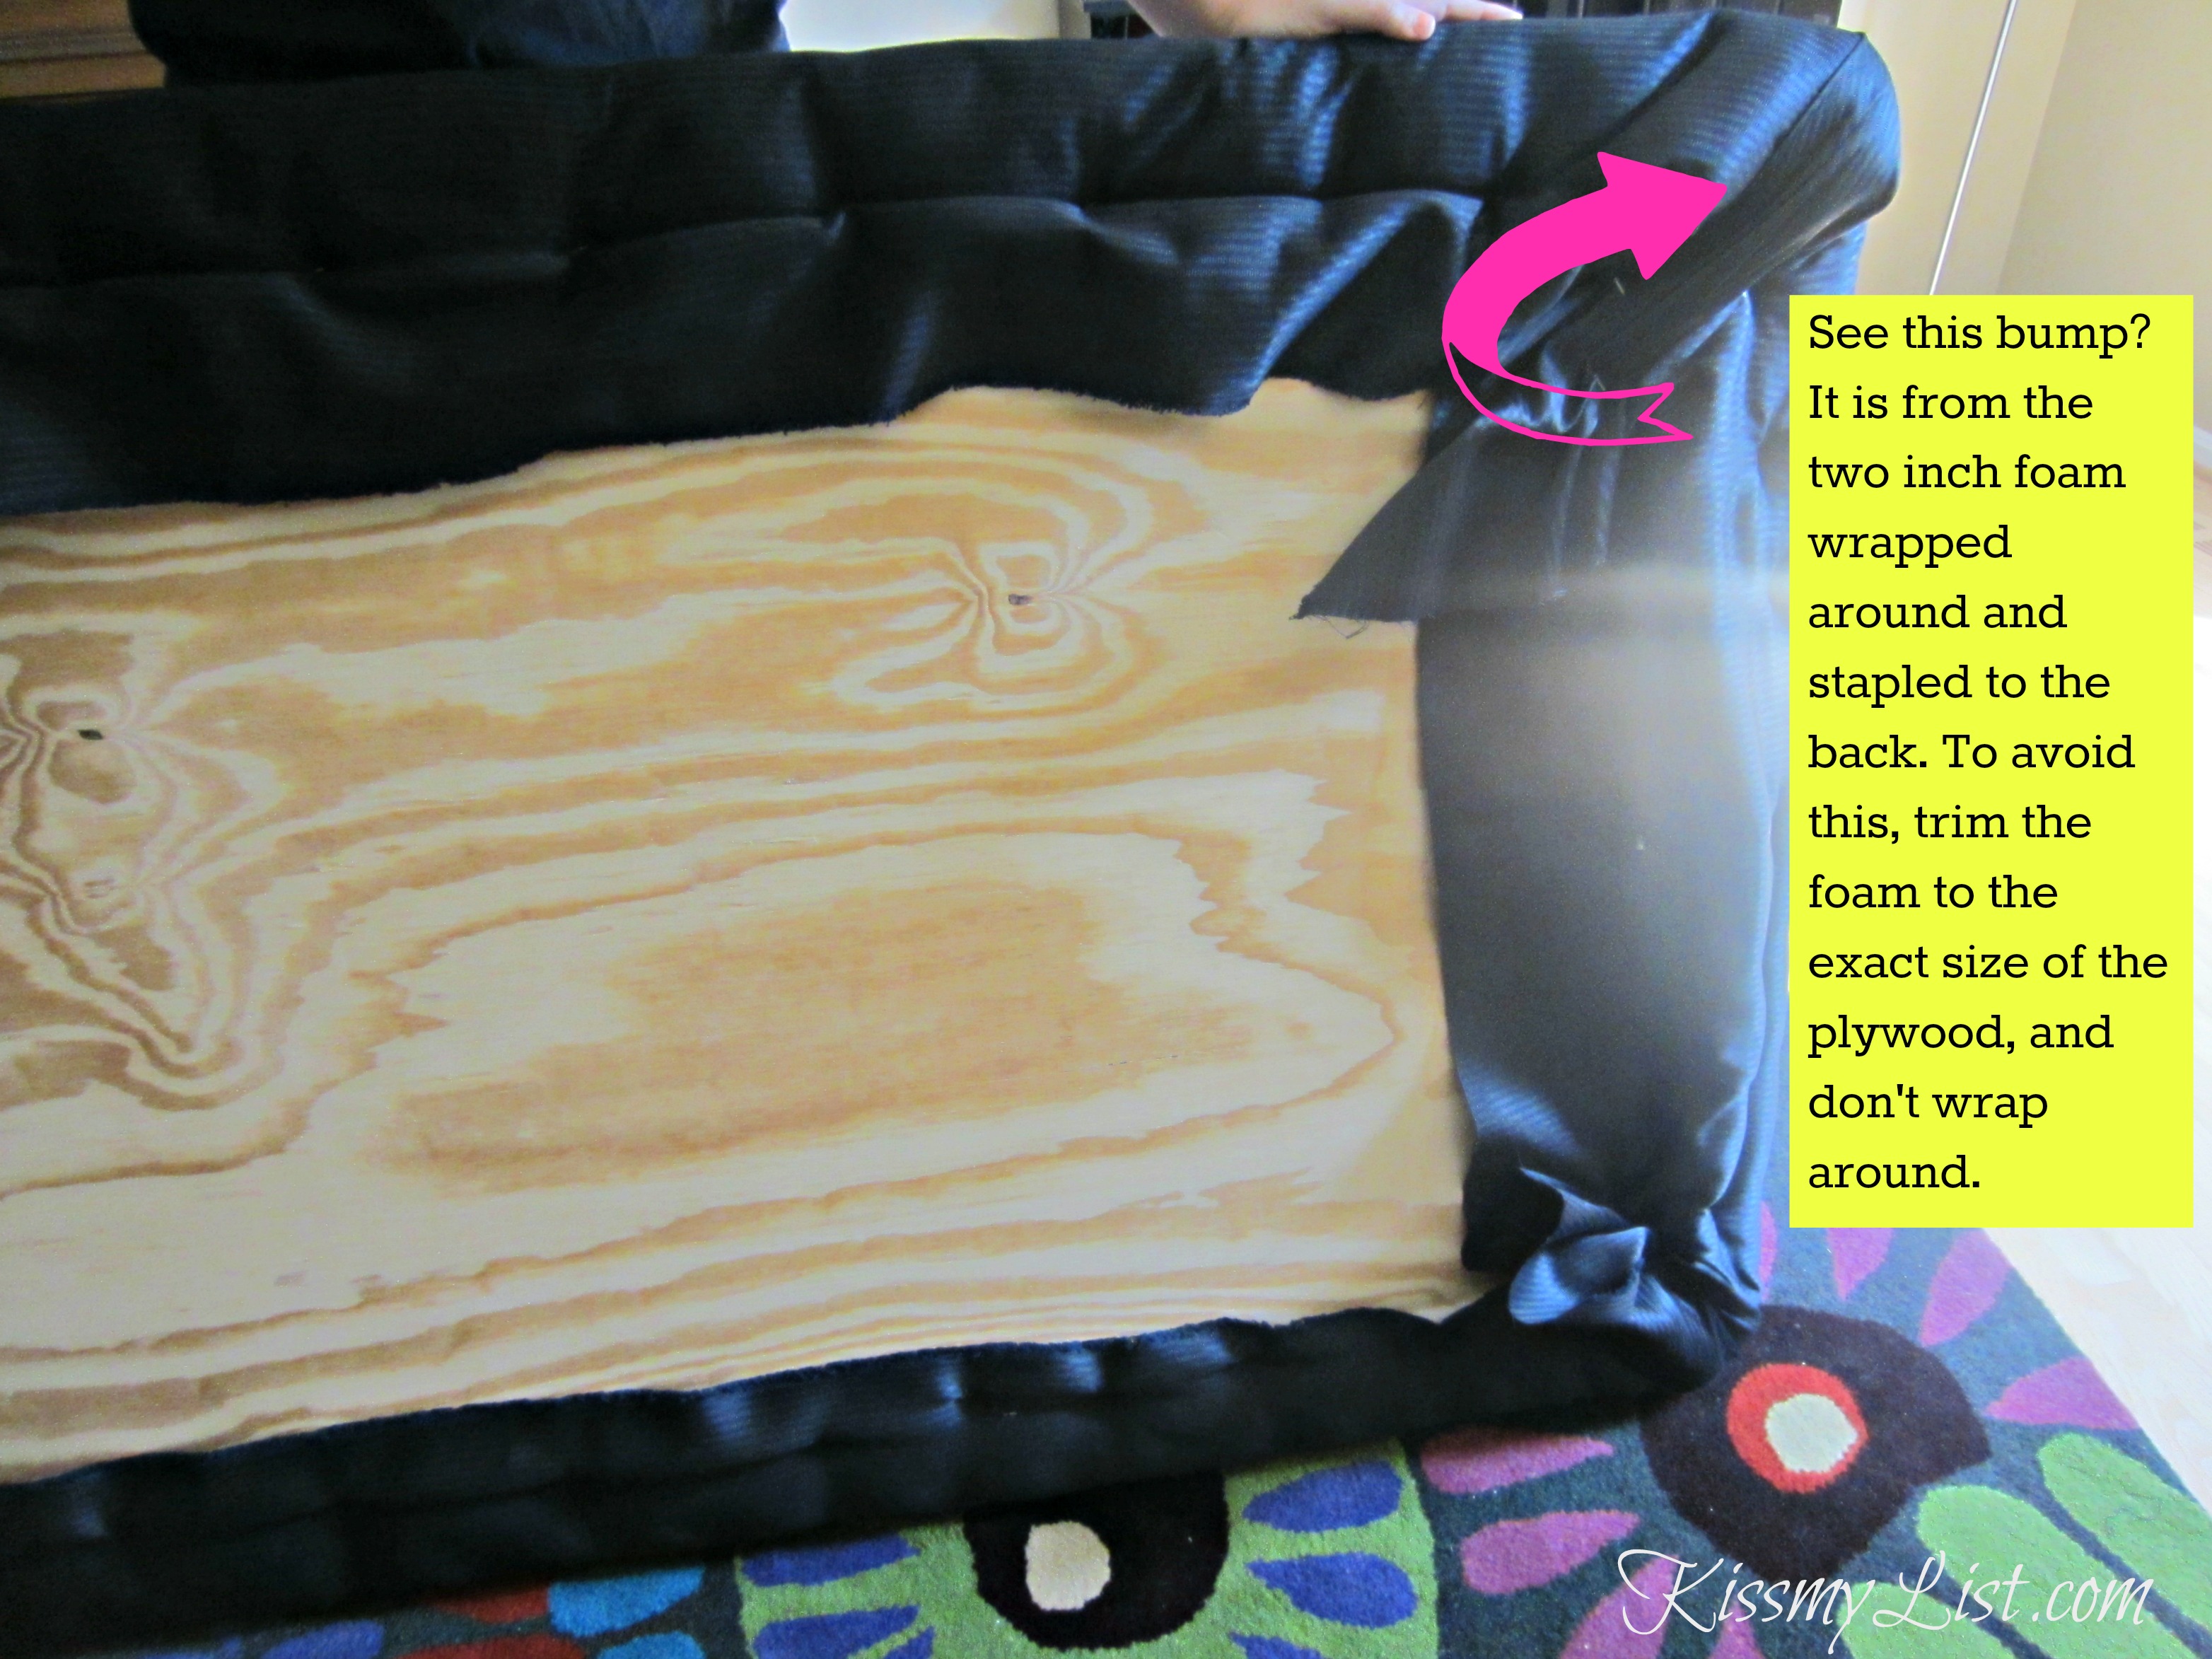
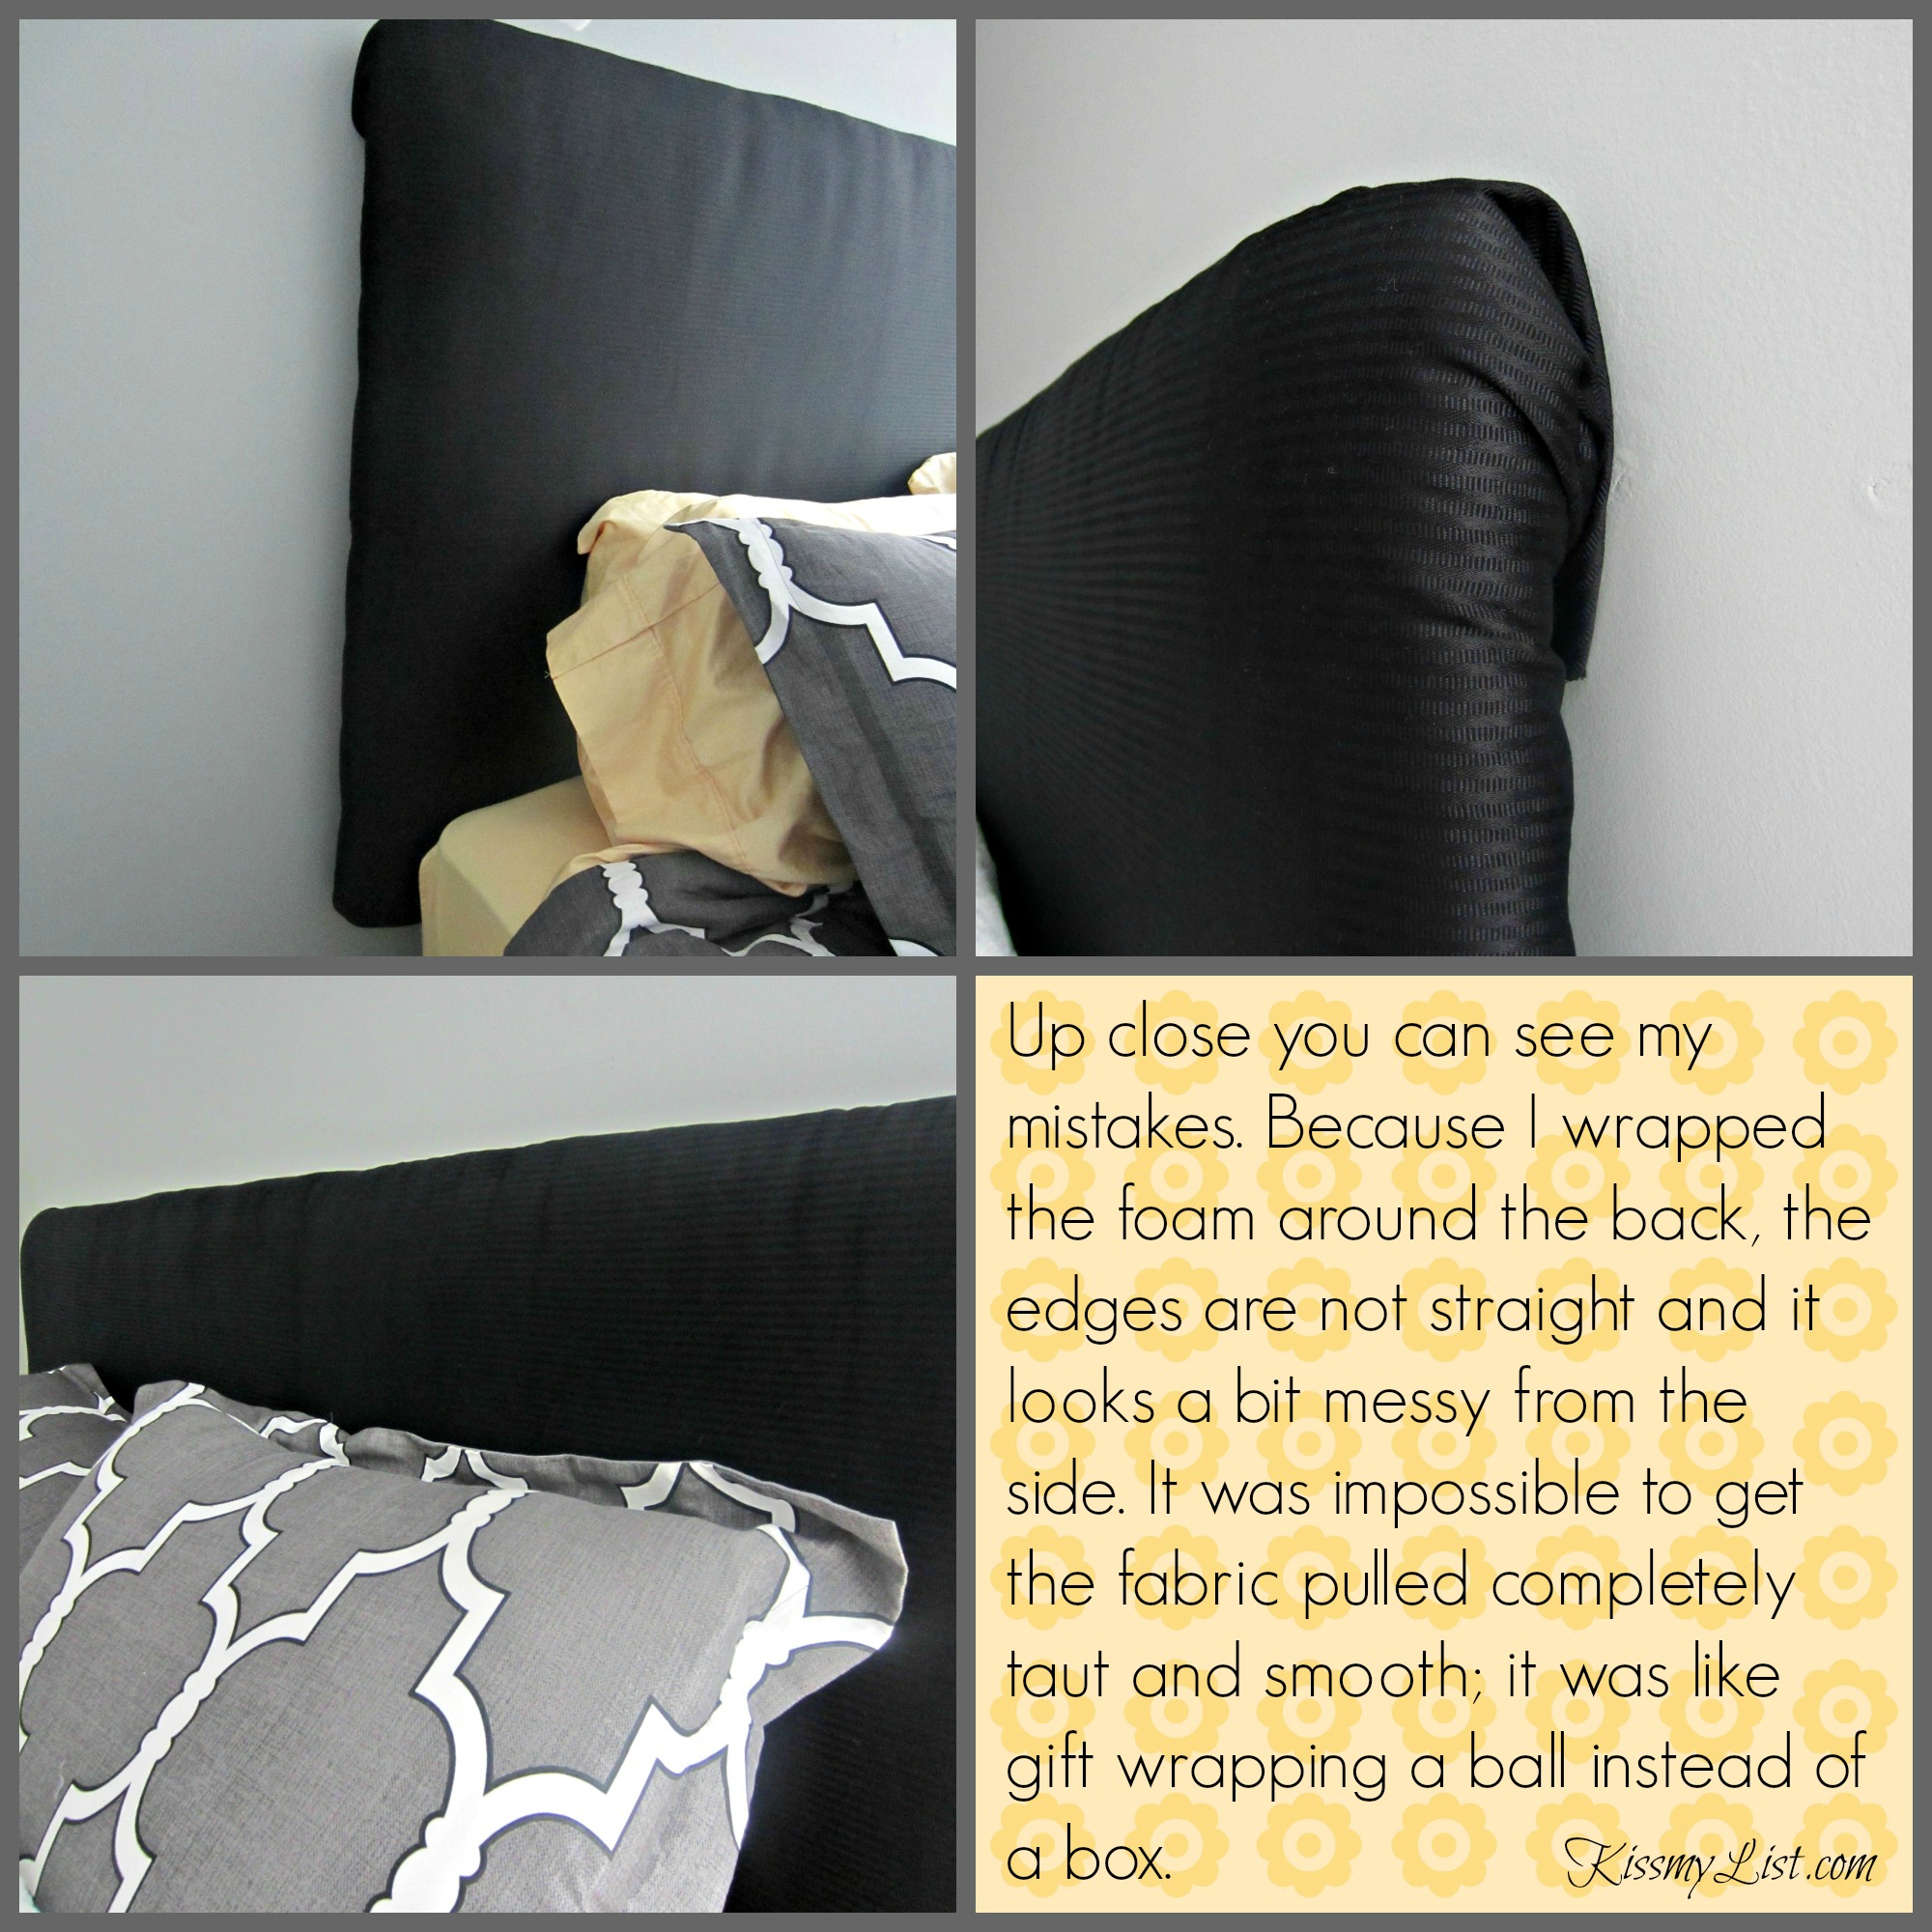
4. I tucked excess foam around and staples to back. If I were doing this project again, I would NOT do this. I should have had the foam fit exactly to the size of the plywood, and the edges would have been cleaner. You will see in the final photos that the headboard is not a straight-edged rectangle; it’s a little bumpy. Another option would have been to create a frame with two by fours so the fabric wraps around wood, but that was too complicated for me.
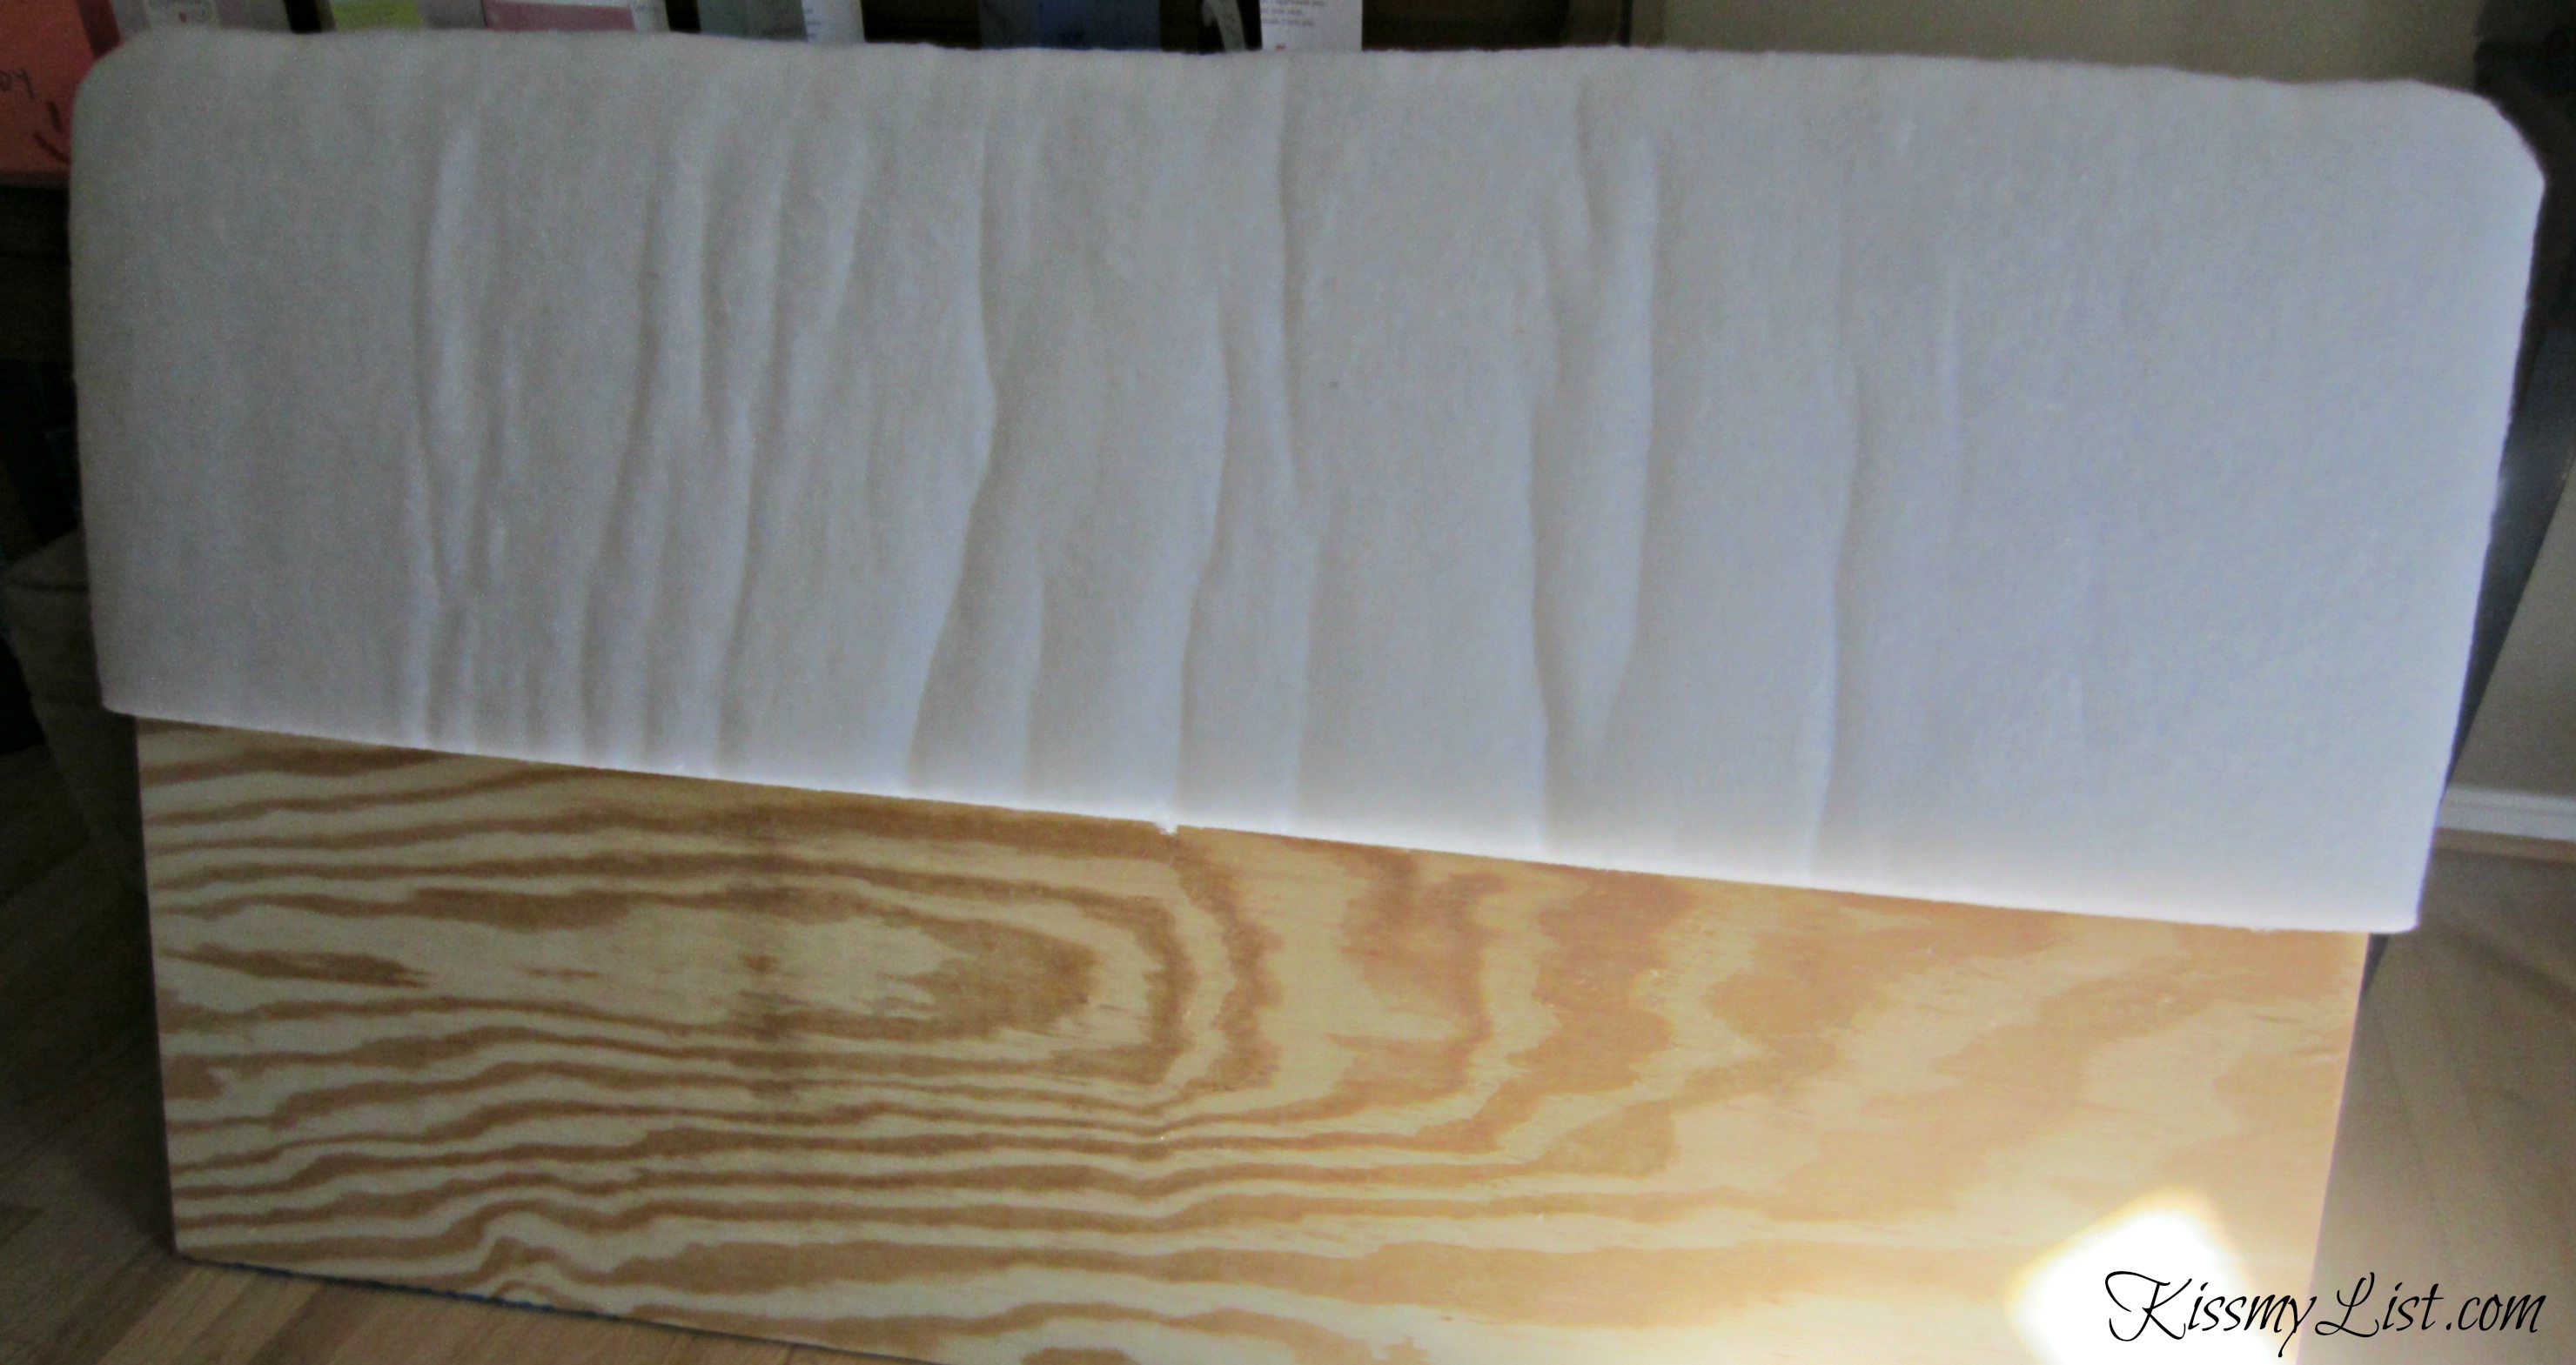
5. Repeat with second piece of foam.
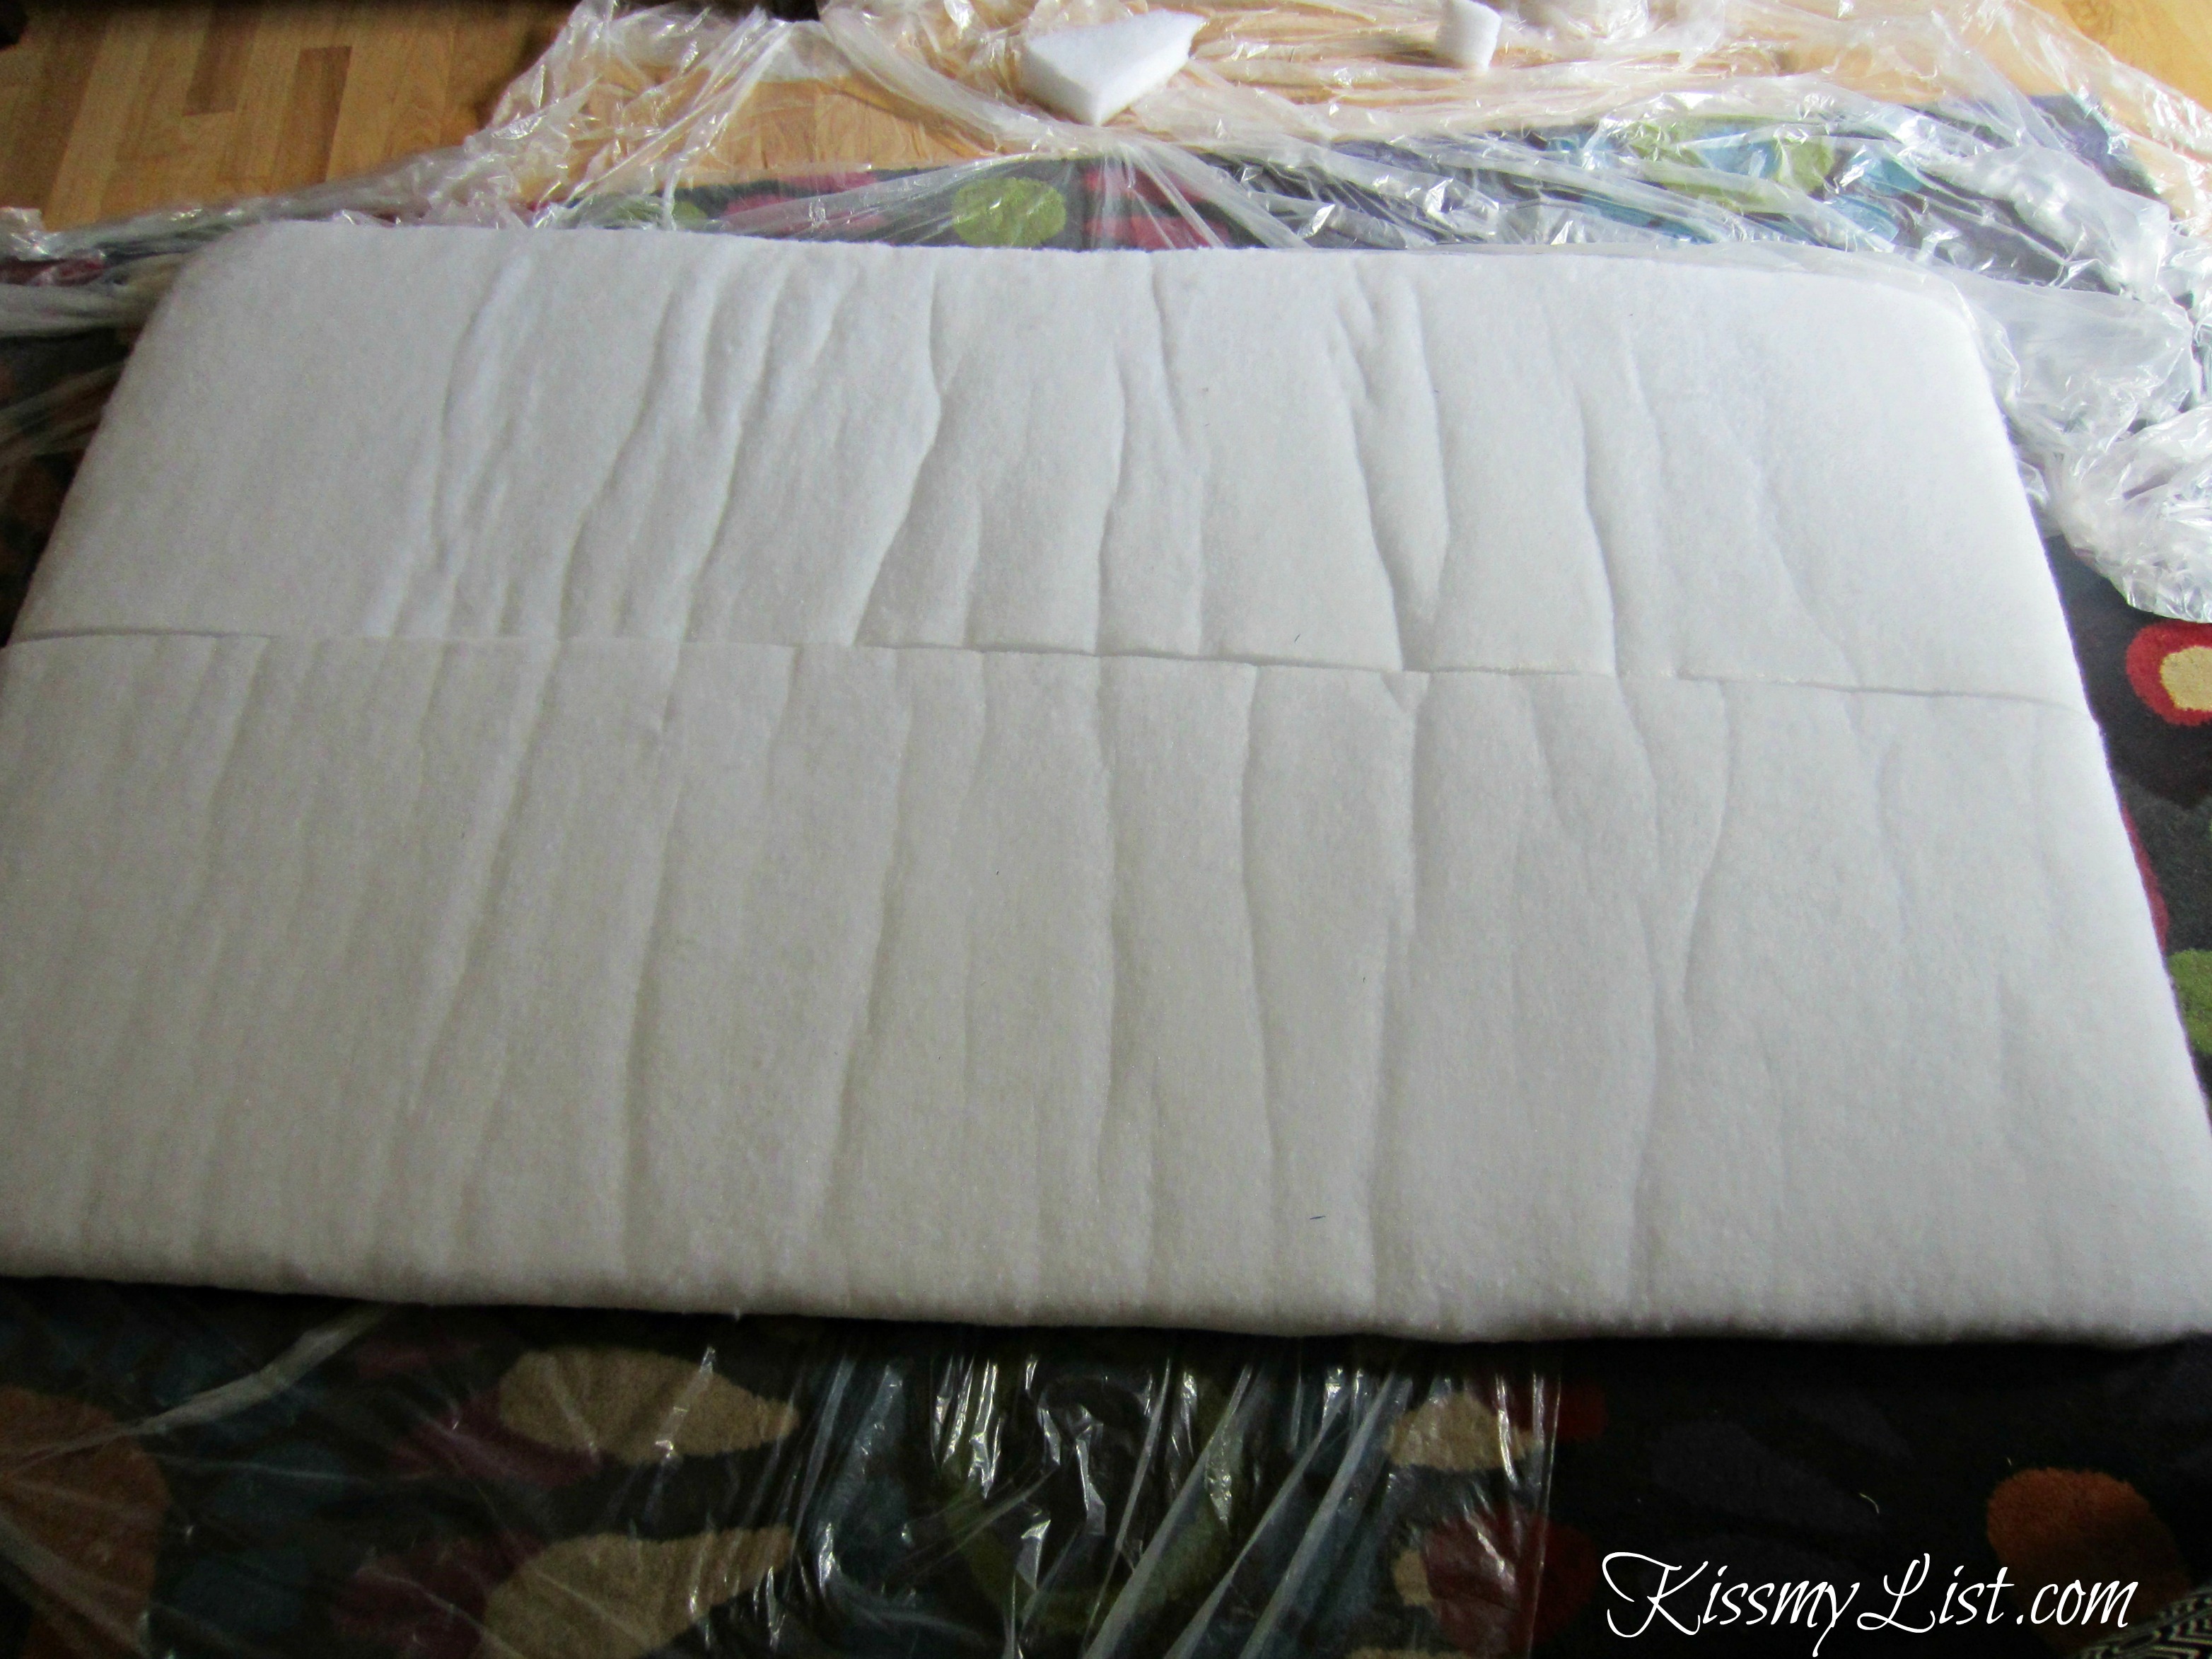
6. Apply spray adhesive to foam and then attach fabric to front of headboard. Flip board over and staple fabric to back, making sure to pull it taut and smooth. Trim extra fabric and foam in the back.
7. At this point I tried to attach a nail head trim, but the nails weren’t long enough to go through the foam and the plywood. I even bought longer nails, but the trim broke easily and I got disgusted and gave up. I told you I was a half-assed DIYer.
8. Drill three hooks into the wall at evenly spaced intervals (we put anchors in the drywall first). Drill two D-rings into the plywood and string picture wire from one to the other. Then just hang the headboard like you would hang a picture.
I have no photos of this process because my fabulous husband and daughter did this while I was not home. There was no way I was taking the headboard down once they put it up.
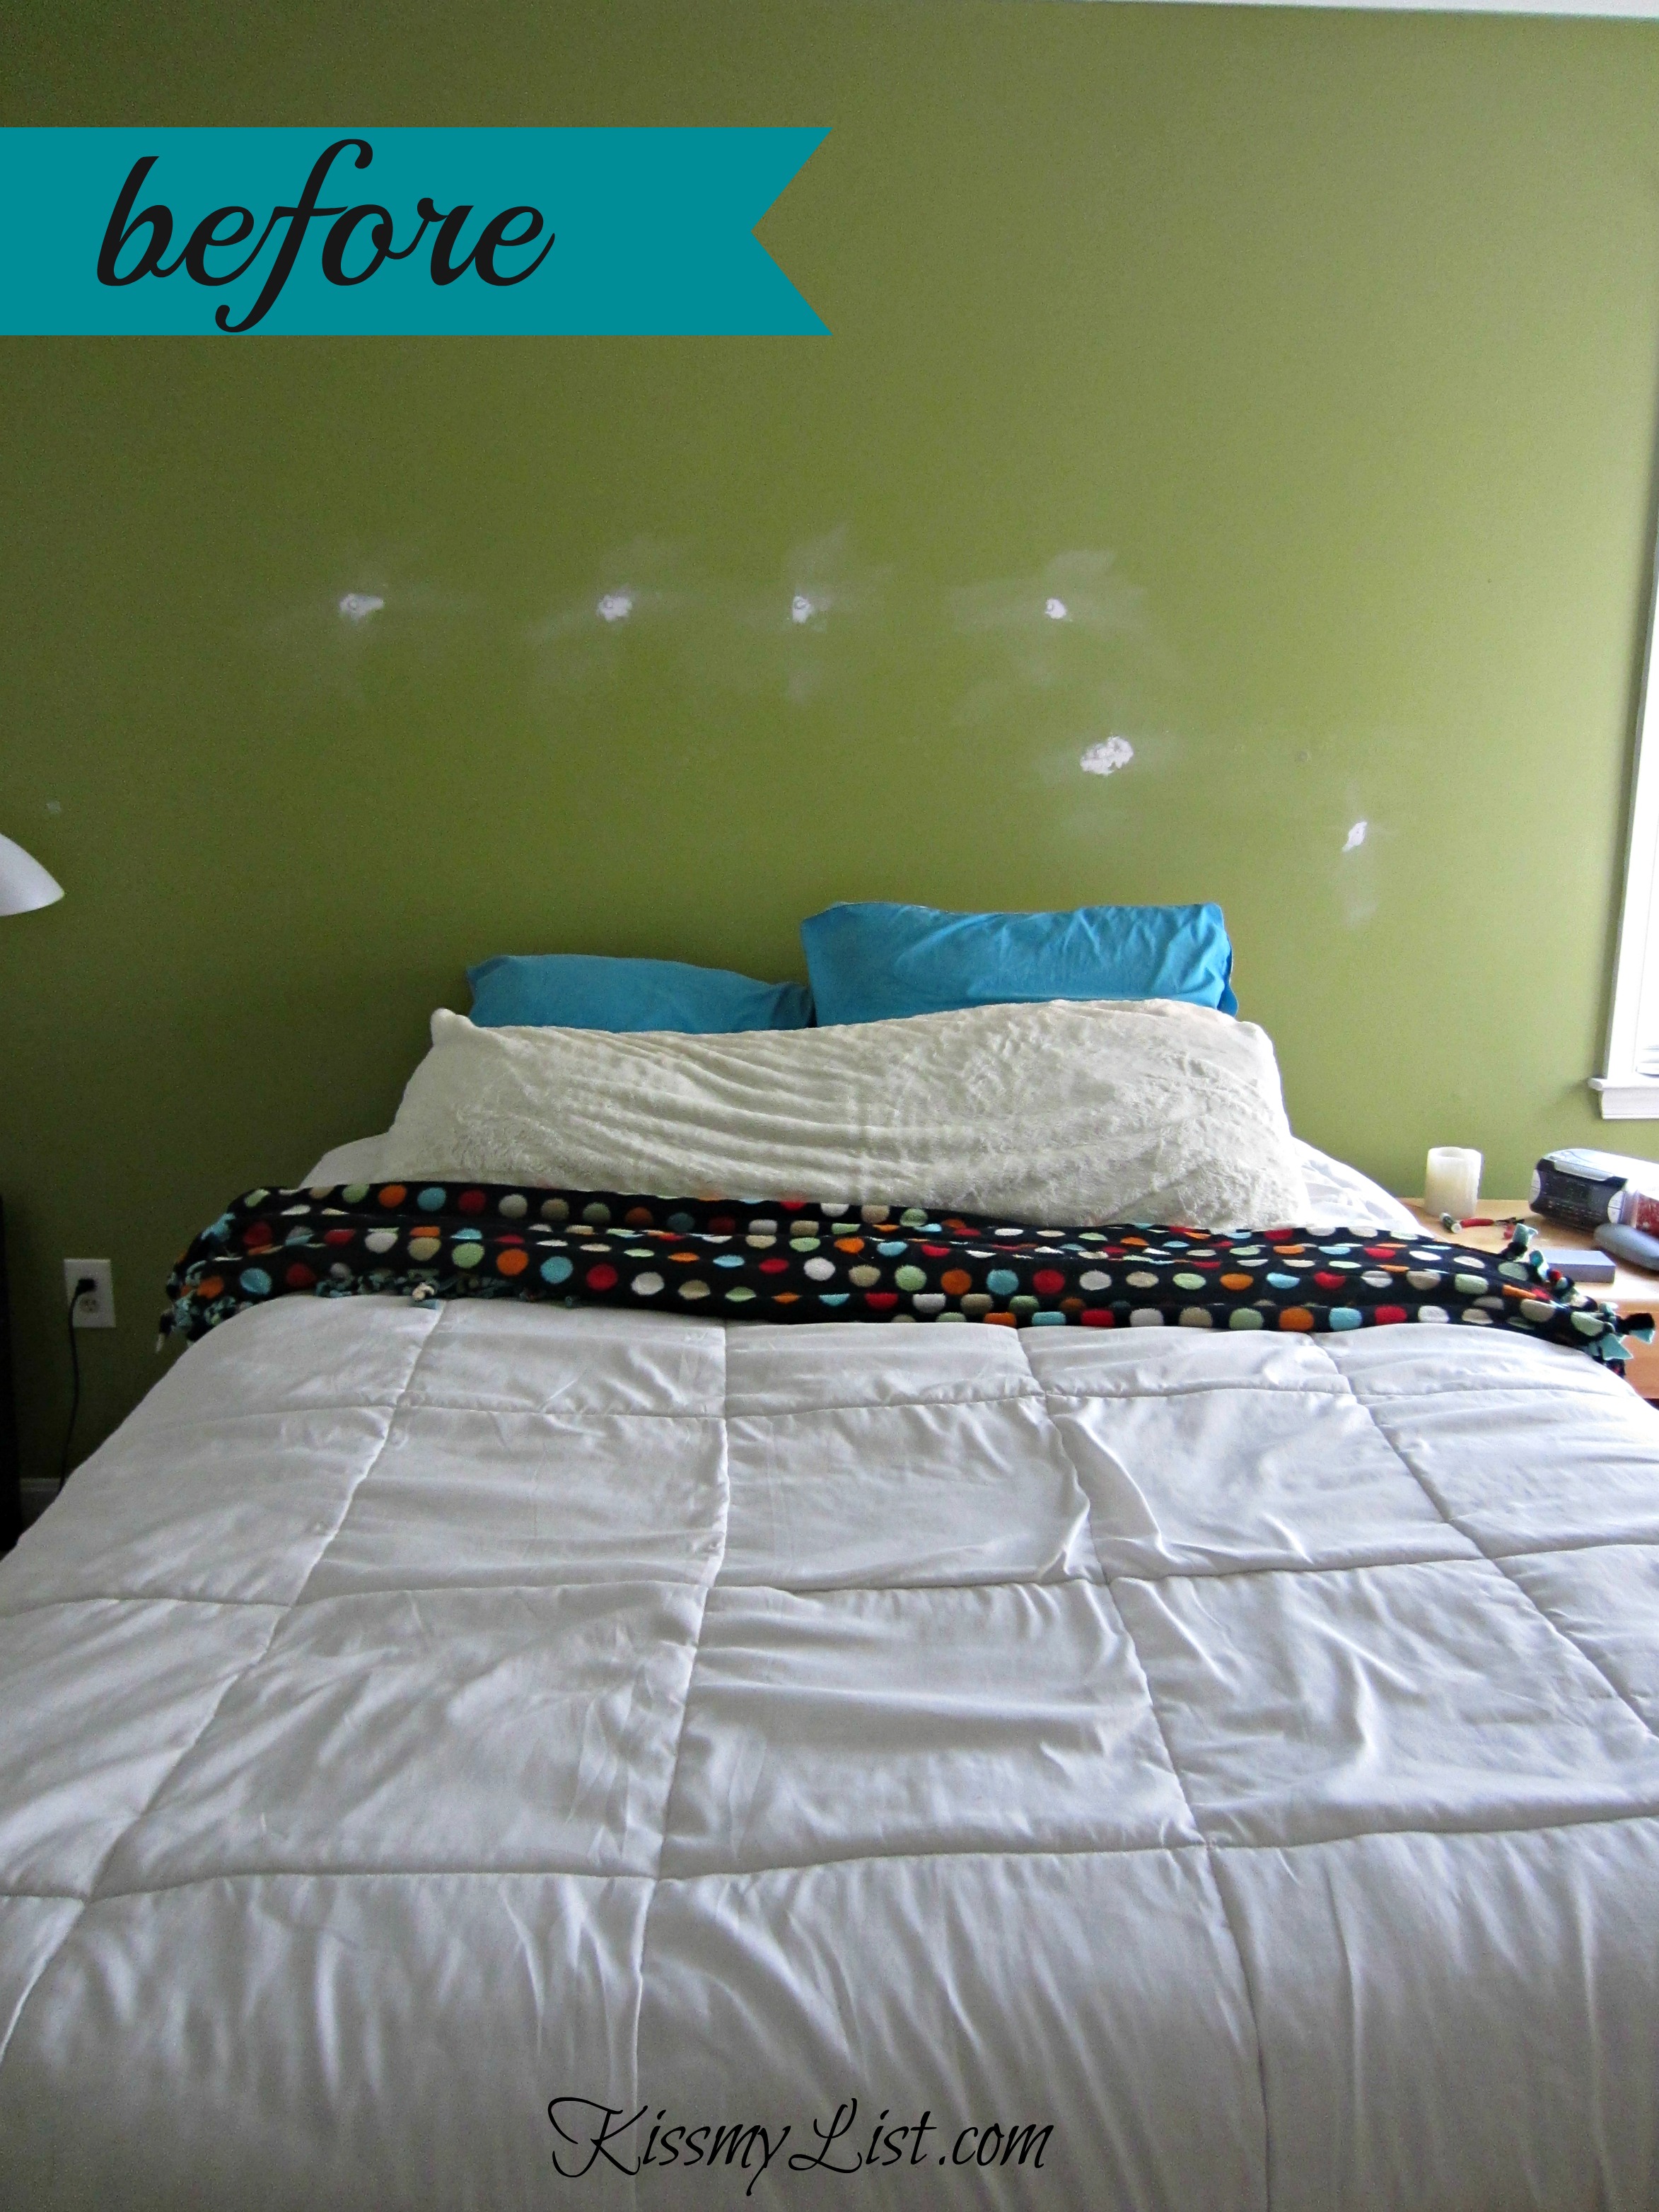
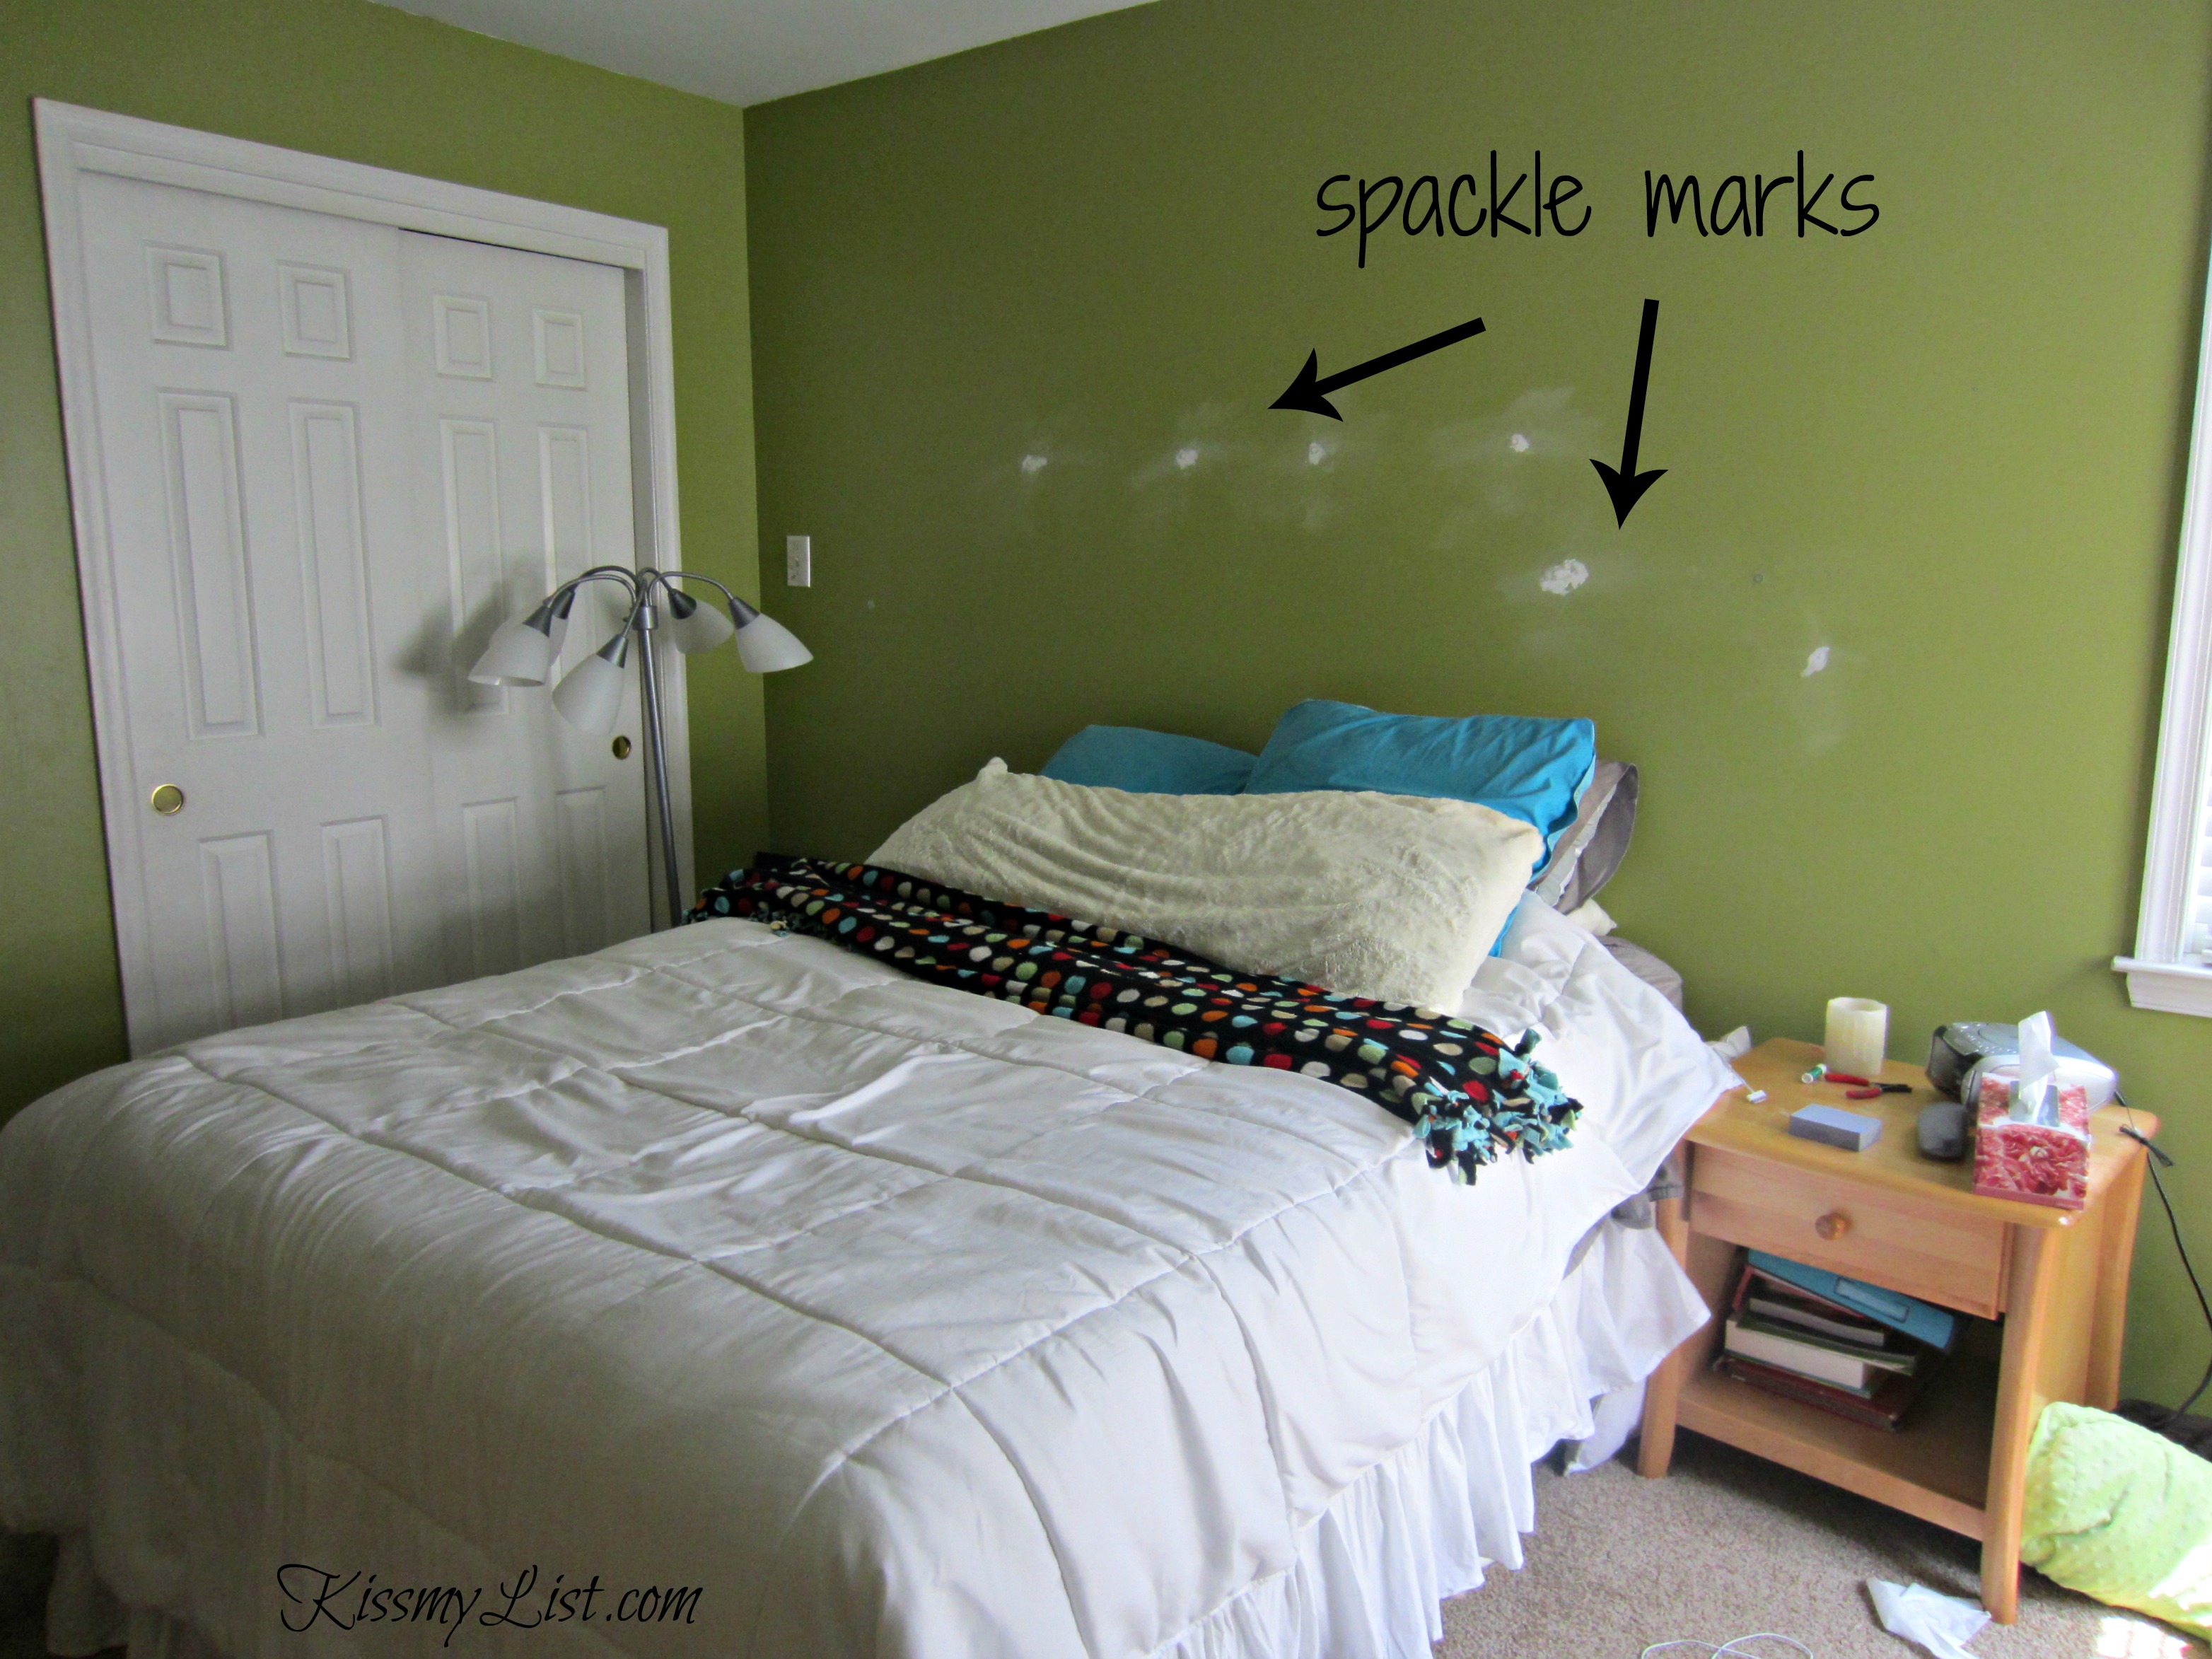
Here’s what Gwen’s bedroom looked like before. Did I mention we painted the room too?
Here is the room after.
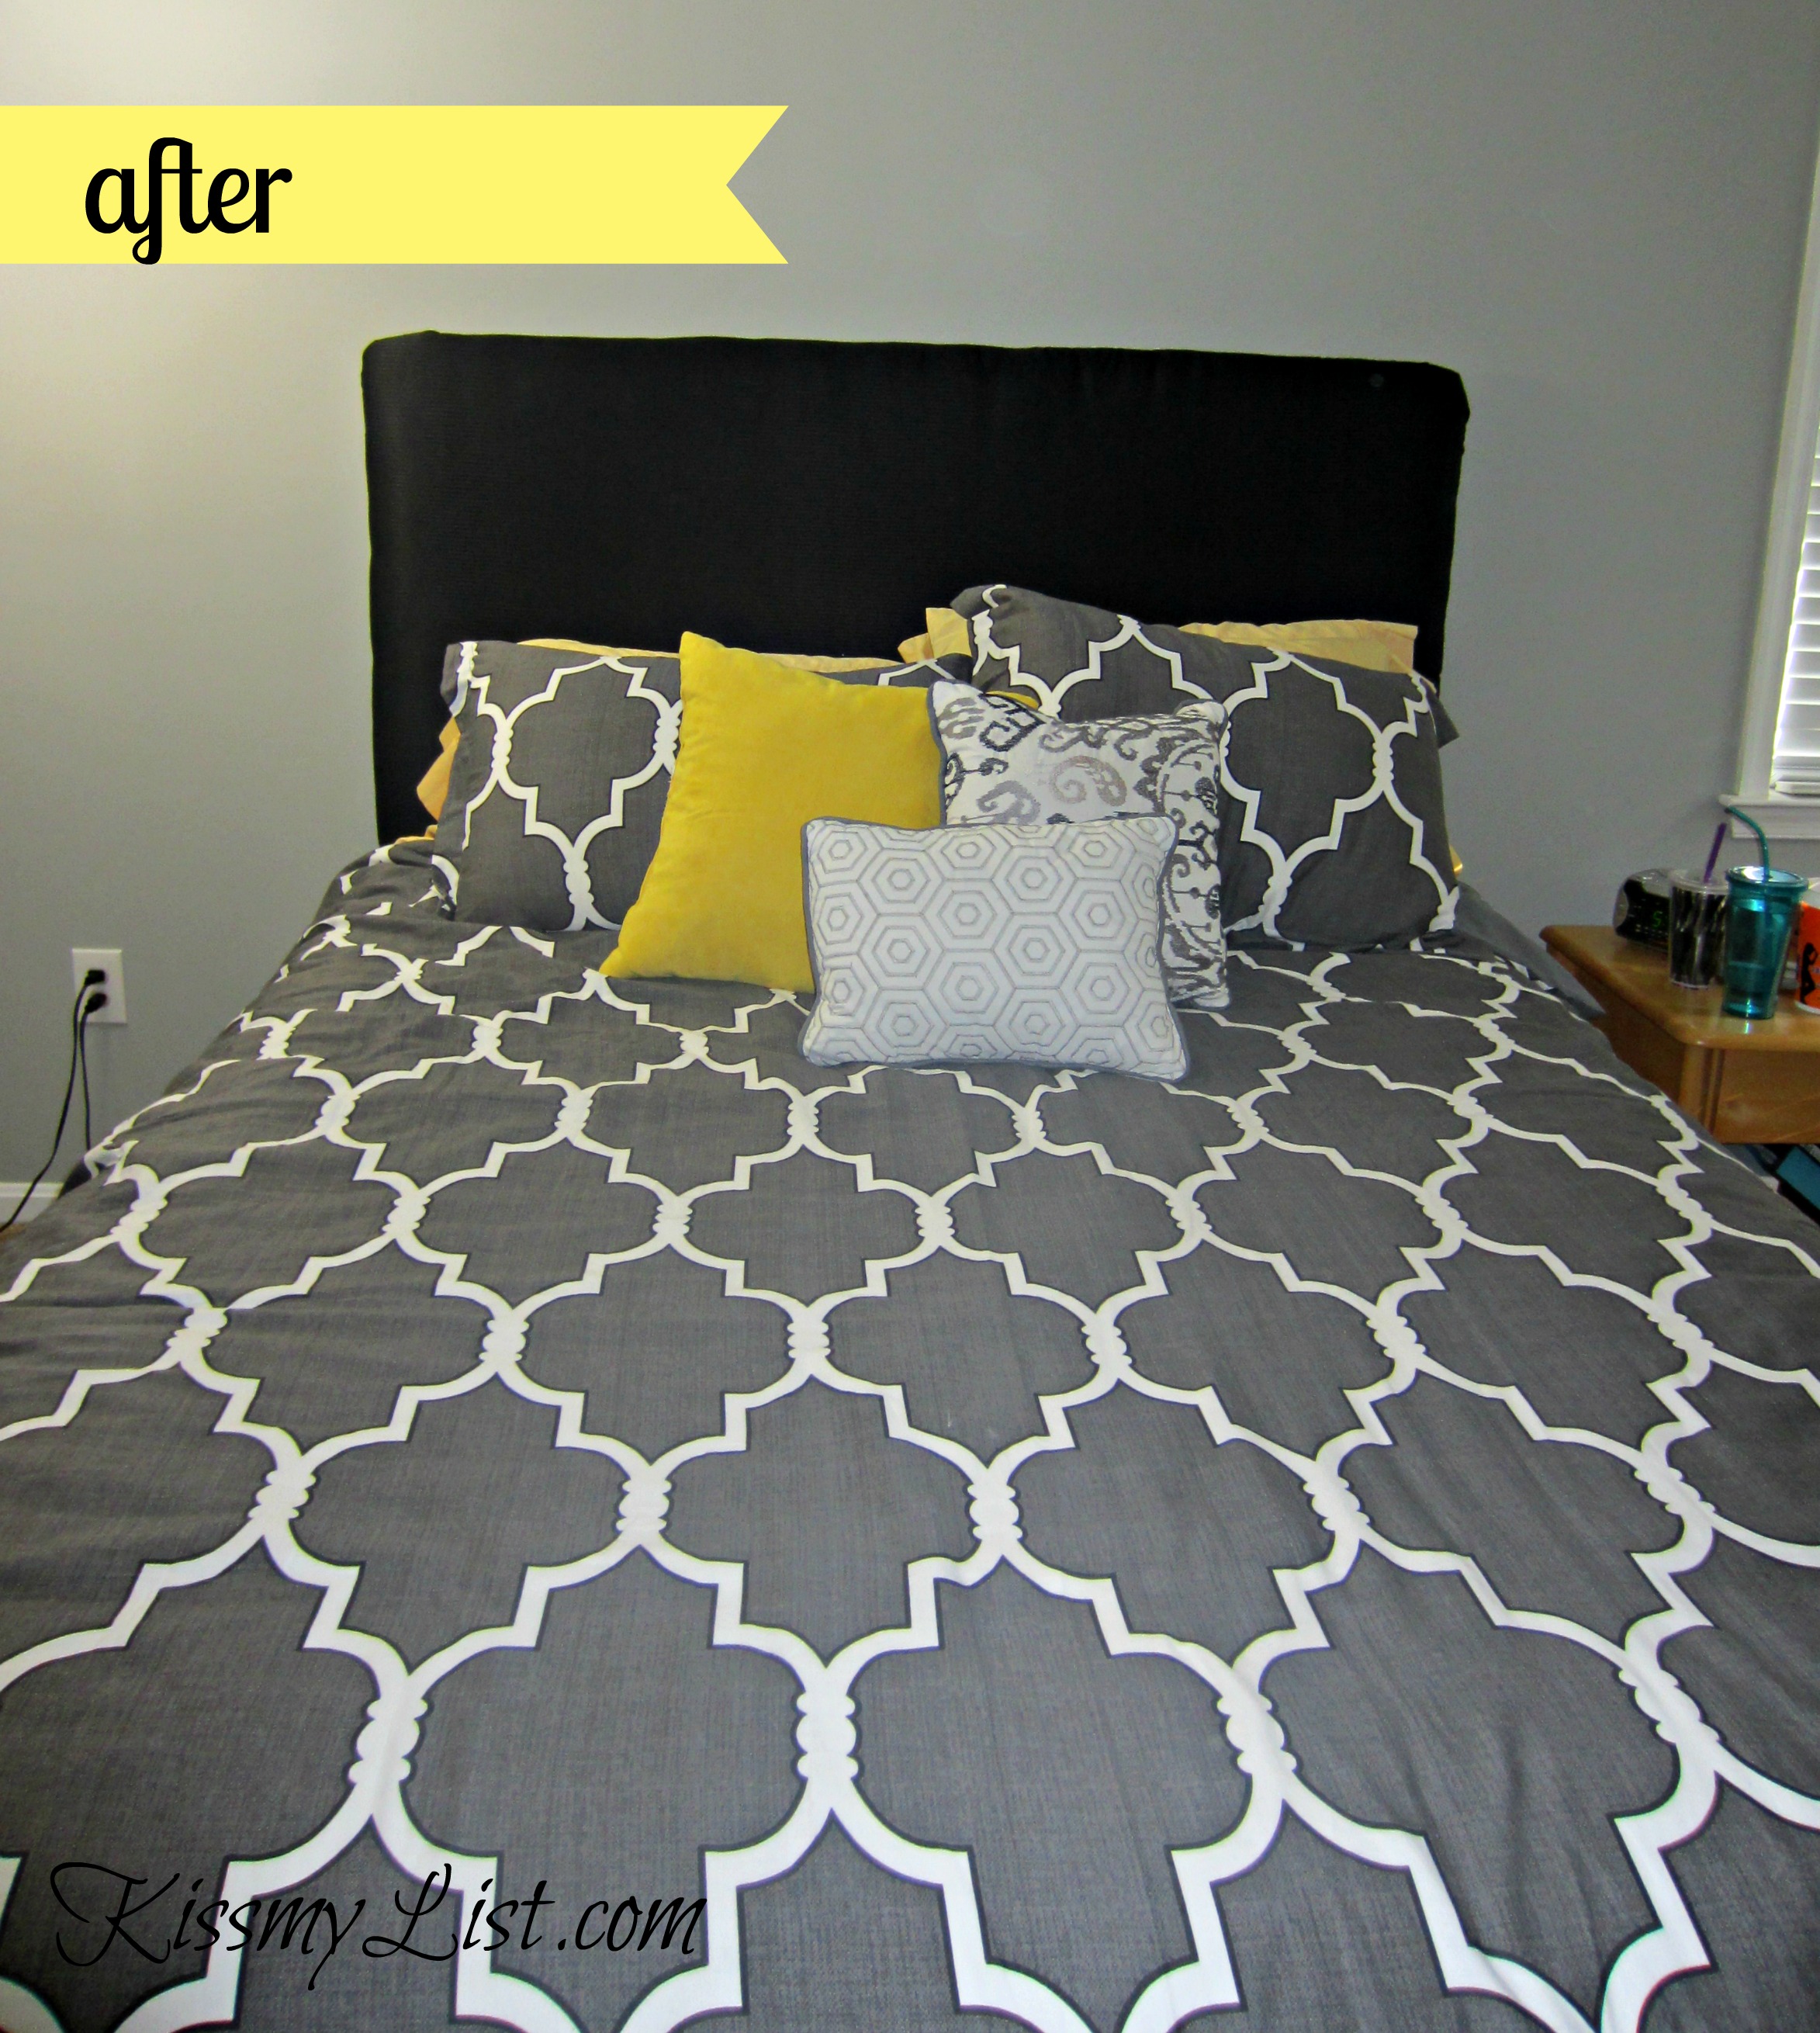

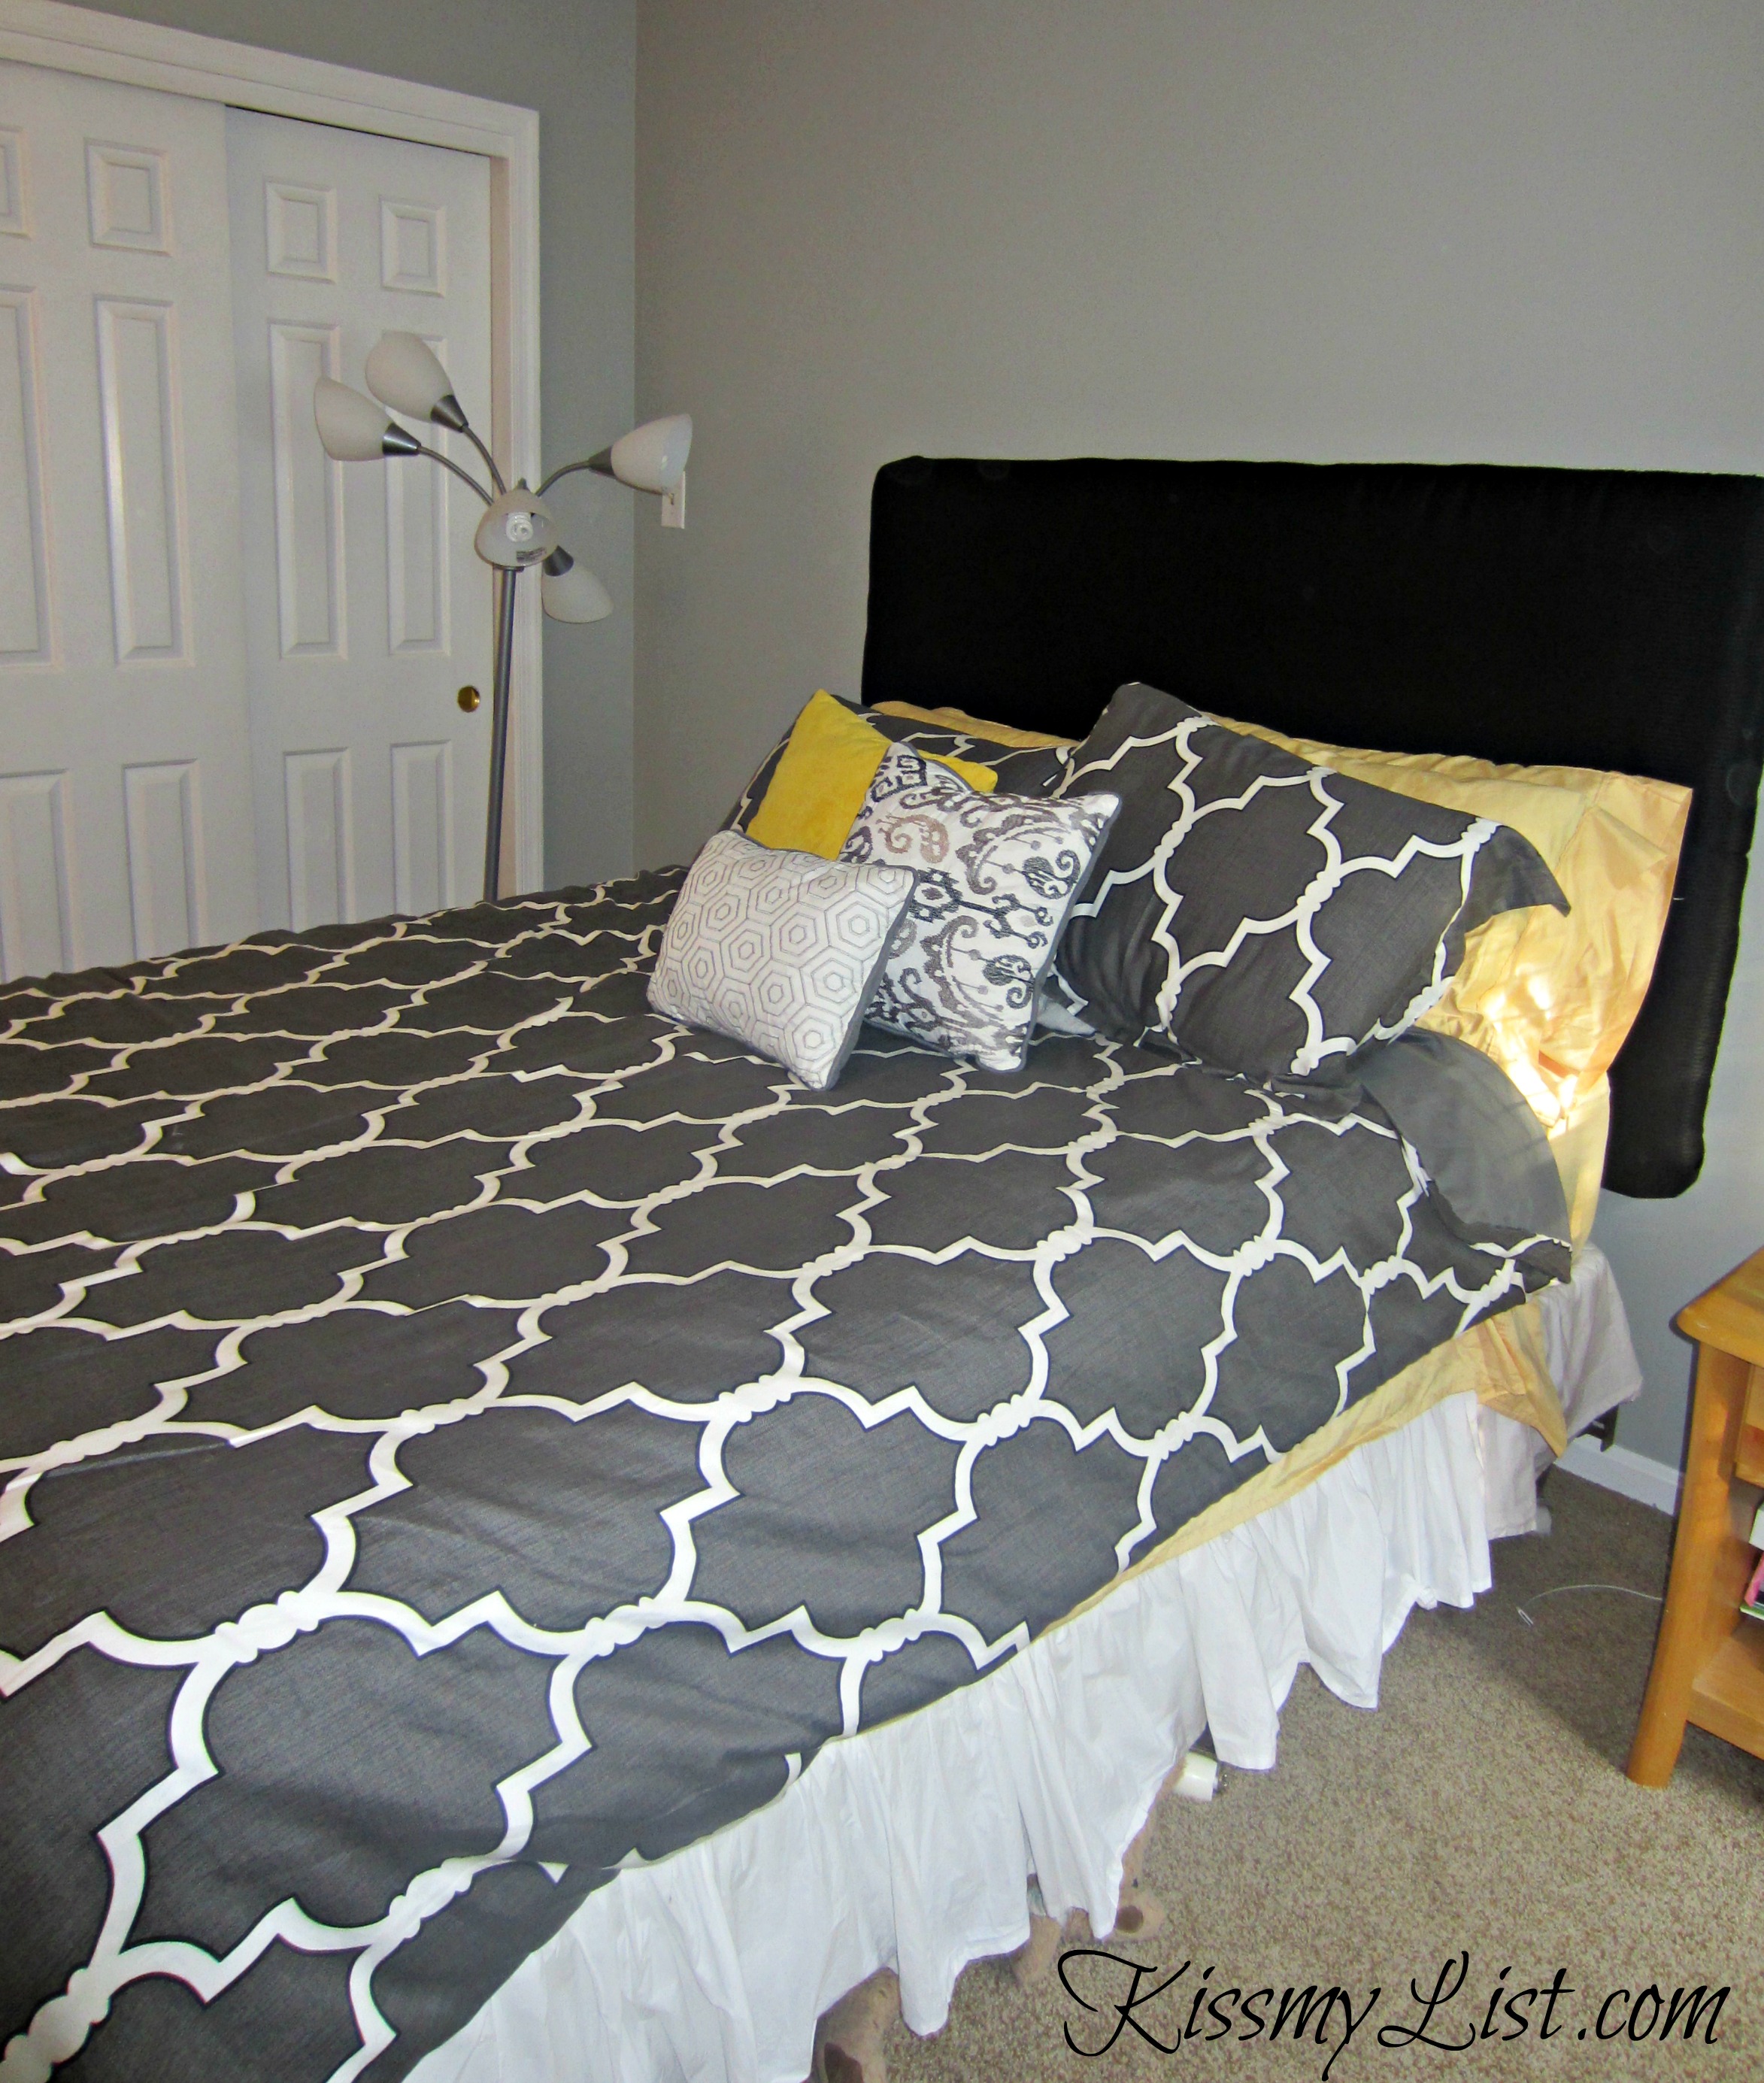
It’s not perfect, but she loves it. It grounds the bed and she can comfortably lean back to read or do homework. It’s cushier than most upholstered headboards I’ve seen on the market, and much cheaper. The final cost was $143 – woo hoo!
Do you have any DIY projects planned for this fall? Tell me about them!

I’ve started writing a comment numerous times and kept getting pulled away. Sorry about that! I am SOOOOOO proud of you!!! For someone that states they are not crafty to pull this off. I think it looks great. I’m crafty and I’ve been scared to do it, lol. This has gotten me thinking more seriously about it. Really, great job!
Oh, you could do this and do it beautifully, Kate. Thanks for the thumbs up; that means a lot coming from someone with actual talent. A few weeks later and it is still in one piece on the wall, so I deem it a success!
I saw it in person and you did a commendable job. My favorite part of this post though is when you tell Kristi above that “Being anal has its perks”. That’s just funny.
It may be funny, but it’s true 🙂
I think it looks fantastic! I plan in the next few months attempting to make one, so I am pinning this to reference back on.
Thanks, Melissa. There are so many great tutorials out there, but I need it to be very simple.
My dad made one of these for my stepmom when she was pregnant and she loved it! Comfy and easily customizable.
Yep – all the ones I saw online were not as cushy, and my daughter really wanted hers to be soft and comfortable. And the black color will go with any other bedspread in the future, too.
Beautiful – of course, like all your DIY projects! Hey, I want a back splash in my kitchen – got any spare time on your hands? 🙂 love ya
p.s – i still crack up every time i have to check the box off that i am not a spammer!
Yeah, you have to do that everytime. It prevents internet robots from spamming up the blog. And I’d love to shop with you for a back splash!
Holy crap. I’m not sure you’re ever going to like me again because there is no way that I’d have done such a great job on this. While I love her room color before, I love it more afterwards and the headboard? AWESOME.
Um, to the friend part? So. I just hired somebody to paint Tucker’s new room. LIke 2 months ago. Um. Yeah. So, um. He’s not in there yet. (I SUCK and you are awesome). I’m seriously impressed!!!
Thanks, Kristi. Being anal has its perks. Painting is one of the few home improvements I can do…so stay tuned for some fall/winter projects. Let’s see who can get their painting done first!
Wow – I’m super impressed with the headboard! And, I love the new room color!
Did you change your blog header? (if it was weeks ago, just forget I asked!!)
I added the picture, yes. Needed a little change up 🙂
I think it looks great! I am absolutely not a DIYer!
Thanks, Lisa!
Whoa, nicely done!! I’m not bad at finding DIY projects or even just imagining new things from old materials, but my husband generally does the execution.
Yeah, my husband will help if I whine and beg, but being handy is not one of his strengths.
I think you did a GREAT job! I would have botched it from the start. I am not good with fabric crafts or sewing. Cursed actually.
Thanks, Crystal! I’m not great either, but I managed to pull this one off. I haven’t used a sewing machine since high school, so any projects that require that are out.
This is awesome! I am really a DIY dreamer. I get a lot of awesome ideas but they never really come to fruition. I have a DIY dream for a headboard I would love to do but…I dont think I have the skills for it. Maybe this post will help inspire me to try.
My dream headboard was much more complicated than the one I did, but I have learned my limits from past failures. I really wanted to add the nailhead trim but the nails were only 1/2 inch long. I don’t know how other people have been able to make theirs work. Oh well. If you do try it, let me know!
I’m totally not a DIY-er. The only thing I can do is paint. I do it all the time though, because I’m also a cheapskate. Pay for a tv stand? I don’t think so. I can pick up this ugly dresser for $25 and paint it to be a unique shabby chic piece for my living room. I’m always amazed by what other people can do though!
You are right – a fresh coat of paint makes a world of difference. My next project is painting my interior doors (sssshhh – don’t tell my husband!).
Wow. Even I can do that. I can’t sew a button on a shirt, but I can make a headboard. Cool. 🙂
Well, staple guns are much more fun to use than a needle and thread. You could always staple the button…
OK, I didn’t think it was possible, but I respect you even more now. I am NOT a DIY’er and just tackling DIY research is more than I’ve ever done. This is an amazing looking headboard. You are a true Renaissance woman!
Why thank you, Katia! Many times I do the research and then decide I can’t do it, so I was pleased with myself for following through this time.
That looks amazing, the whole look of the room is straight out of a design magazine. Headboards are that one thing that’s so expensive, yet seems like it shouldn’t be.
I know, right? I’m working on window valances made out of fabric napkins right now, so hopefully I can share those too if they turn out ok.
It turned out great!
Thank you!
Wow! I am super impressed. Love the color of the walls and the bedspread too!
Thanks, Kate. I painted my kitchen gray and then Gwen thought she would like it too.
At every step of your directions I thought of ways I would be injured if I ever attempted to do this. Then I saw the final pictures and thought to myself that is such a cool, not a little girl room. So I hope your daughter gave you lots of hugs, kisses and undying devotion 🙂
That’s exactly what she wanted – a cool sophisticated room. The dirty clothes all over the floor really add to the look. I had a few close calls with the staple gun – I’m a bit injury prone myself!
Personally, I think it looks AMAZING!! She must love it! And I am loving her new bedding, too! The fact that you would even attempt such a project makes you a total winner in my book! :)-Ashley
Thanks, Ashley! I sometimes bite off more than I can chew. She loves it and her new bedding – too bad the bed hasn’t been made most mornings after those photos were taken!
Gorgeous Dana and seriously way better then I could ever manage. Seriously, I am so not handy and god help me if I tried what I would get. But you did a fabulous job here and definitely should be proud of your handiwork!! 🙂
Thanks, Janine. I am pretty proud – I’m no Martha Stewart, but I finished it successfully. That’s good enough for me!
I’m rubbish at DIY. I think the last thing I made was a sled for Neff when it snowed last winter. I used cereal packets and parcel tape – it lasted him the way home and he had a gorgeous time – that’s what counted for me 🙂
I don’t attempt DIY too often – it doesn’t usually end well. It’s not fabulous but my daughter loves it, and as you said, that’s what counts.
WOW…that is beyond amazing…what a great job and LOVE The gray and yellow…very snazzy!
I suck at this DIY projects…it would have been hanging off and tilted, LOL
Notice I had my husband hang it? I love the gray and yellow too. Gwen wanted a sophisticated room, and I think she got it!
Very nice! I am a terrible DIYer. I have good intentions though! My goal is to finish the scrapbook wall in my daughter’s room that has never been finished. My running partner just laughed at me this morning when I mentioned it. It’s been years!
I know what you mean – I have a few projects in waiting that I just stop noticing after a while. The headboard had to get done, though, if I wanted the nagging about it to finally stop!